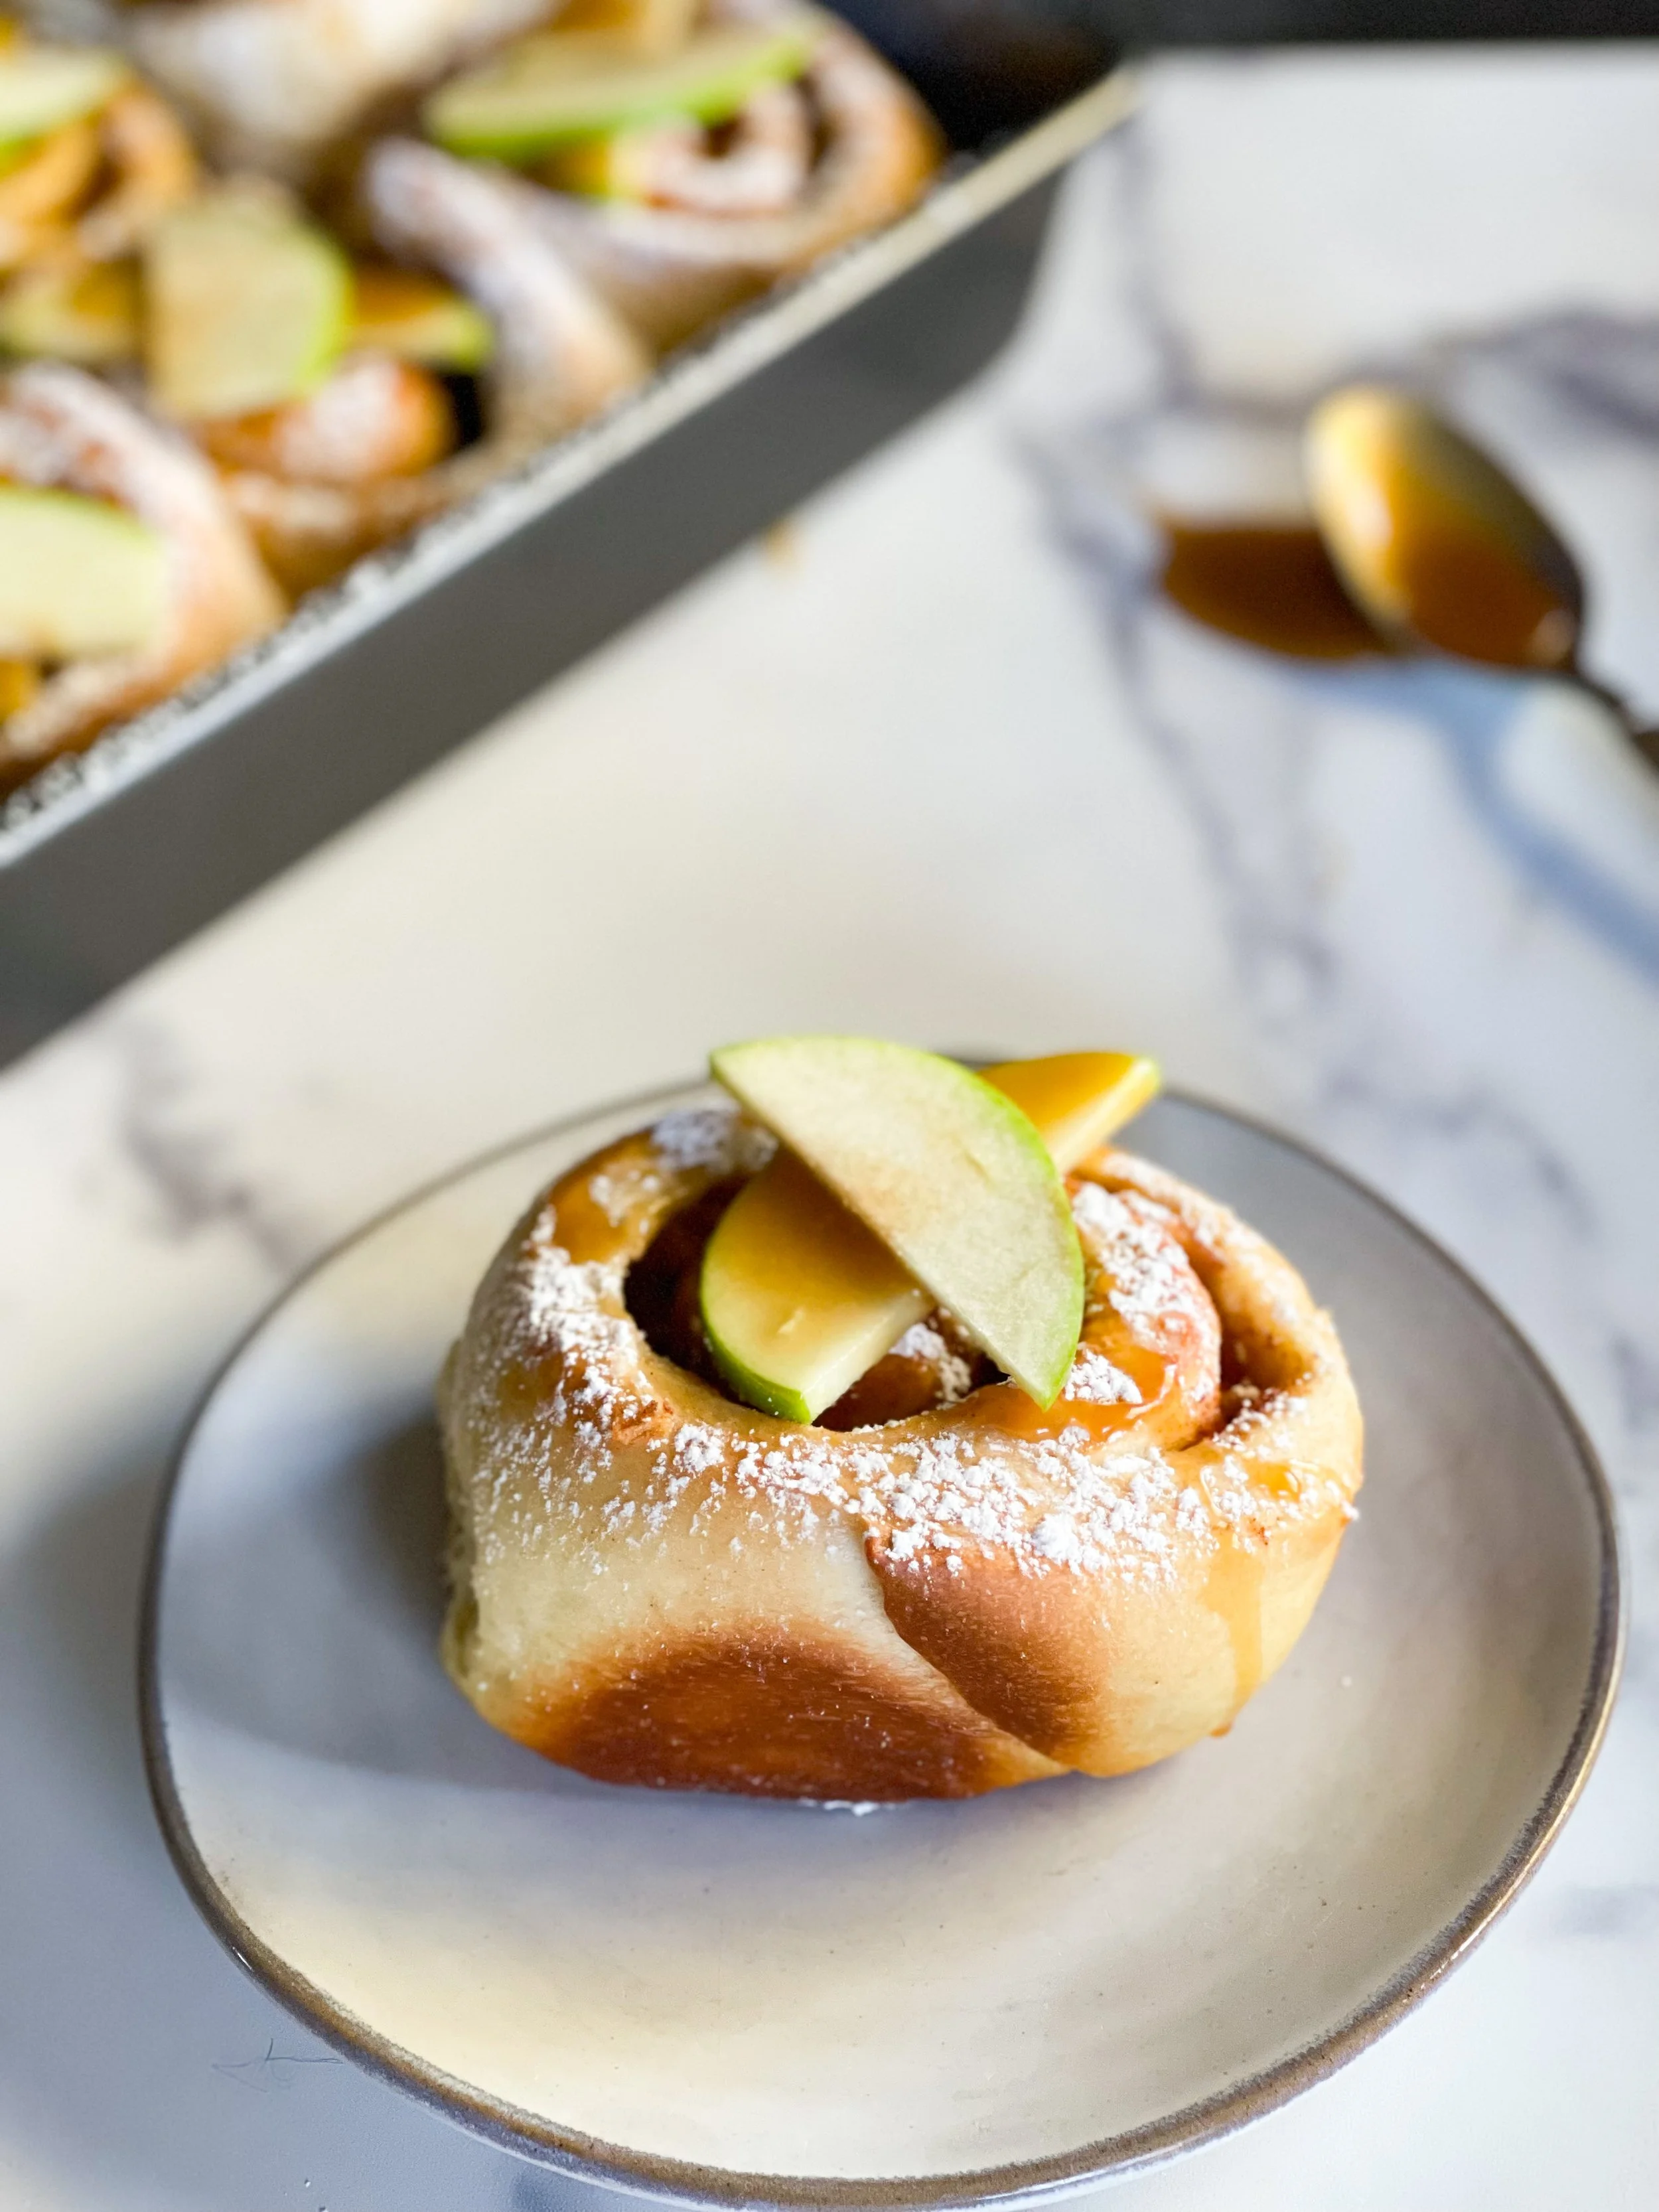
Salted Caramel Apple Rolls
Get ready to enjoy an amazing twist on the classic cinnamon rolls we all know and love. These salted caramel apple rolls bring the delicious autumn flavors, and I can't wait to share this recipe with you.
So, grab your baking gear and let's whip up these mouthwatering treats together.
Shopping List:
Rapid Rise/ Instant/ or Active Dry Yeast
Bread Flour
Apples (preferably granny Smith, but they can be what apples you prefer)
Vegan Butter (preferably unsalted)
Plant Milk (plain, unsweetened)
Vegan heavy cream (if making salted caramel)
Granulated and Light Brown Sugar
Icing/ Powdered Sugar (optional)
Vanilla Extract
Neutral Oil (like grapeseed, canola, or vegetable)
Kosher Salt
Equipment:
Stand mixer w/ dough hook- you can definitely make these by hand, but if you have a stand mixer, I would say use it
Large bowl (if not using a stand mixer )
Liquid measuring cup
Scale, if using ( you should! )
Candy thermometer (optional, but helpful)
Rolling pin
Large pan or dutch oven (filling)
9 x 13 “ baking pan
Cooling rack
Small heavy bottom saucepan
Kitchen towel, bowl cover, or plastic wrap
Very sharp knife for cutting apples
Serrated knife or dental floss (for cutting rolls)
Makes- between 6-8 rolls, depending on your preferred size
TOP IT OFF
With salted caramel or powdered sugar for a sweet finish.
Products Used:
Links provided below-
Rapid Rise Yeast- I prefer active dry over rapid or instant yeast, but I’ m using it for this recipe because it’s a bit easier and quicker for people because it only requires 1 rise instead of two. I think the end result is usually more flavorful when using active dry, however I don’t think most people will notice. Also, using an active dry yeast does require two rises, which Rapid Rise does not (typically neither does Instant, but double check your brand).
King Arthur Bread Flour- Any bread flour will do, King Arthur is just my preference. If you only have all purpose, go ahead and use it instead
Miyoko’s or Violife Plant Butter- Up until last year, I was a real ride-or die Flora butter fan, but unfortunately they stopped production here in the U.S. It’s a bummer, but I also enjoy both of these- especially Violife. I’m using unsalted, but if salted is all you have access to, feel free to use- but reduce the salt in the recipe by about half and see how that works out. In the end, you should use the butter that is your favorite, affordable or readily available to you. However, I’ll be honest and say that I do not like how Earth Balance makes my baked goods taste.
Diamond Crystal Kosher Salt- the chef’s salt (for various reasons) that I won’t get into here. The important thing to note is that it contains 53% less sodium than standard salt, so that’s why I say to use half the amount the recipe calls for if you’re using Morton, sea, or table salt.
Silk Unsweetened Organic Soy Milk- what type of plant milk doesn’t really matter too much in this recipe, just make sure it’s unsweetened and unflavored.
Notes:
Yeast- This recipe calls for Rapid Rise Yeast, however, if Active Dry is your preference, that works too. Just know that Active Dry requires two rises and proofing the yeast before you start.
How to use Rapid Rise Yeast-
Make sure the good by date on packed hasn’t expired
Wet ingredient temp should be between 120°–130°F
Add yeast to dry ingredients, then make a well in your bowl to add the warm liquid to mix
After dough is needed, let rest 10-15 minutes only- you can skip the first rise
After rested, assemble and cut rolls and let rise 30-60 minutes (depending on the temperature in your kitchen)
Salted Caramel- I think we all know that salted caramel and apples are a match made in heaven, but if you don’t like caramel or the thought of making it freaks you out- you can totally skip it. When the rolls come out of the oven, just dust them with some powdered sugar and they will be really delicious sans caramel.
Salt- Diamond Crystal Kosher is my preference, but if you use Morton or table salt, reduce the amount by half as Diamond is less salty than the two.
Sugar-If you want to make sure it’s vegan, use organic as it does not use bone char (yes, it’s as bad as it sounds) in the processing like conventional sugar typically does.
Oil- Along with milk, serves as our egg replacer. Butter is flavor, but oil helps with moisture retention after the dough is baked.
Measuring- Listen… just go ahead and get a scale! They’re cheap and the most accurate for baking. I use them to develop my recipes and do the best I can to convert from weighted measurements to cups out of courtesy to those who don’t have one, but trust me, if you like to bake- get one. It will be the best $20 dollars you spend to improve your recipes. Otherwise, make sure that you use the scoop and level method to measure out your flour to avoid using more than the recipe calls for.
T= tablespoon tsp= teaspoon C= cup g= gram ml= milliliter pinch= around 1/8 of a teaspoon
Recipe Prep:
Bring butter to room temp for the rolls and filling. Since this recipe uses 226 g (1 cup) of butter, I let the whole block come to room temperature. If you make the salted caramel, the butter for that recipe does not need to be room temp, but it does not hurt.
Make caramel
Make apple filling
I really recommend making the apple filling and the caramel the day before to make this process as easy as possible. But you can definitely make it all the same day.
INGREDIENTS:
Dough
1 packet Rapid Rise yeast (or 3 tsp. Active Dry)
240 ml (1 C) plant milk, warm (120°–130°F ) * if you don’t have a thermometer, it should be sorta hot, but not boiling or scalding *
50 g (¼ C) granulated sugar (organic or vegan-friendly)
86 g (6 T) unsalted butter (vegan, room temp)
30 g (2 T) oil (grapeseed, avocado, vegetable, or canola work best)
420 g (3 ½ C) bread flour (you can sub with all-purpose flour )
1 tsp. kosher salt (I use Diamond Crystal, half the amount if using table salt, Morton, or sea salt)
Apple Filling
140 g (10 T) vegan butter, divided
100 g (½ C) granulated sugar, (organic or vegan-friendly)
50 g (¼ C) light brown sugar
450-500 g (3-4 ) apples (granny smith)- washed, peeled, and chopped
1 tsp. apple cider vinegar (can substitute with white distilled vinegar)
2 tsp. cinnamon
30 g (¼ C) flour
pinch of salt using unsalted butter

Caramel
200 g (1 C ) caster/ superfine or granulated sugar (organic, vegan-friendly)
60 ml (¼ C) water
120 g (½ C) heavy whipping cream, vegan ( Silk /Califa Farms )
42 g (3 T) vegan butter (unsalted preferred)
¼ tsp baking soda
1 tsp. pure vanilla extract
½ - 1 tsp. salt (use less, if using salted butter)
Preheat oven to 375° F/ 190° C
Directions:
Salted Caramel
This process takes about 8-10 minutes from start to finish. Making caramel is something that you have to give your full attention to and not do anything else. Seriously, DON’T WALK AWAY. Get all of your ingredients measured and in place next to the cooktop. Things happen fast with caramel, so you need to be prepared and ready to go. It’s also nice to have a small cup of water and a pastry brush to wet the sides of the pot if crystallization begins to happen. Or even better, if you have a lid to your pot, use that to create condensation so that sugar crystals don’t form at all.
Add the sugar and water to the medium-sized saucepan (off heat) and give it a mix until the water is covering your sugar.
Place the pot onto a burner set to medium heat. Now, lift up your hands and back away. You’re going to want to stir the mixture… but don’t. Since we’re making caramel with water, If you do, the sugar will crystallize and it will be a mess. So put your hands up, step back, and don’t touch. Seriously.
After about 4 minutes, remove the lid if using. If you don’t use a lid, you might notice some crystallizations on the sides of the pot as the sugar begins to bubble. If you do, dip a pastry brush into a cup of water and brush the sides to help with this problem. Remember, don’t stir.
It depends on your cooktop and the heat it produces, but around the 6-minute mark, you're going to see the mixture start to take on a bit of a caramel color and start to smell a bit like, well, caramel. Stay cool. You’re getting close, but you’re not quite there yet.
Around minute 8, the sugar mixture should be getting thick and turn a nice dark amber color- how far you let the color deepen is up to you, but just know that once sugar burns, it’s over. For me, the whole process usually takes between 10- 12 minutes from start to finish, but you can play around with it and see what works for you.
Note *BOILING SUGAR BURNS LIKE A MOTHER * So for the next part, please be VERY careful so you don’t hurt yourself. Make sure the spoon or spatula you use has a long handle, so your skin is far away from any hot sugar that might get you.
When the mixture is thick, amber brown, and you think it is ready- add in the butter and stir vigorously. Then slowly add in the cream while stirring.
Keep stirring for about 30 seconds to thicken (the longer you keep on the heat, the thicker it will get, but you run the risk of it going too far), so be careful.
Remove the caramel from the heat and add in the salt and stir to fully combine. Please resist the temptation to taste at this point, cause you will burn the shit out of your mouth. You’ve been warned.
Let the caramel cool off for 20 minutes in the pan- off the hot burner.
When cooled, pour the sauce into a mason jar or glass container of your choice. The sauce will thicken a bit more as it cools.
Set aside for now until your rolls have been baked.
FORBIDDEN FRUIT
I know everyone is mad about pumpkin during the fall season, but to me the star autumnal fruit is the humble apple.
Apple Filling
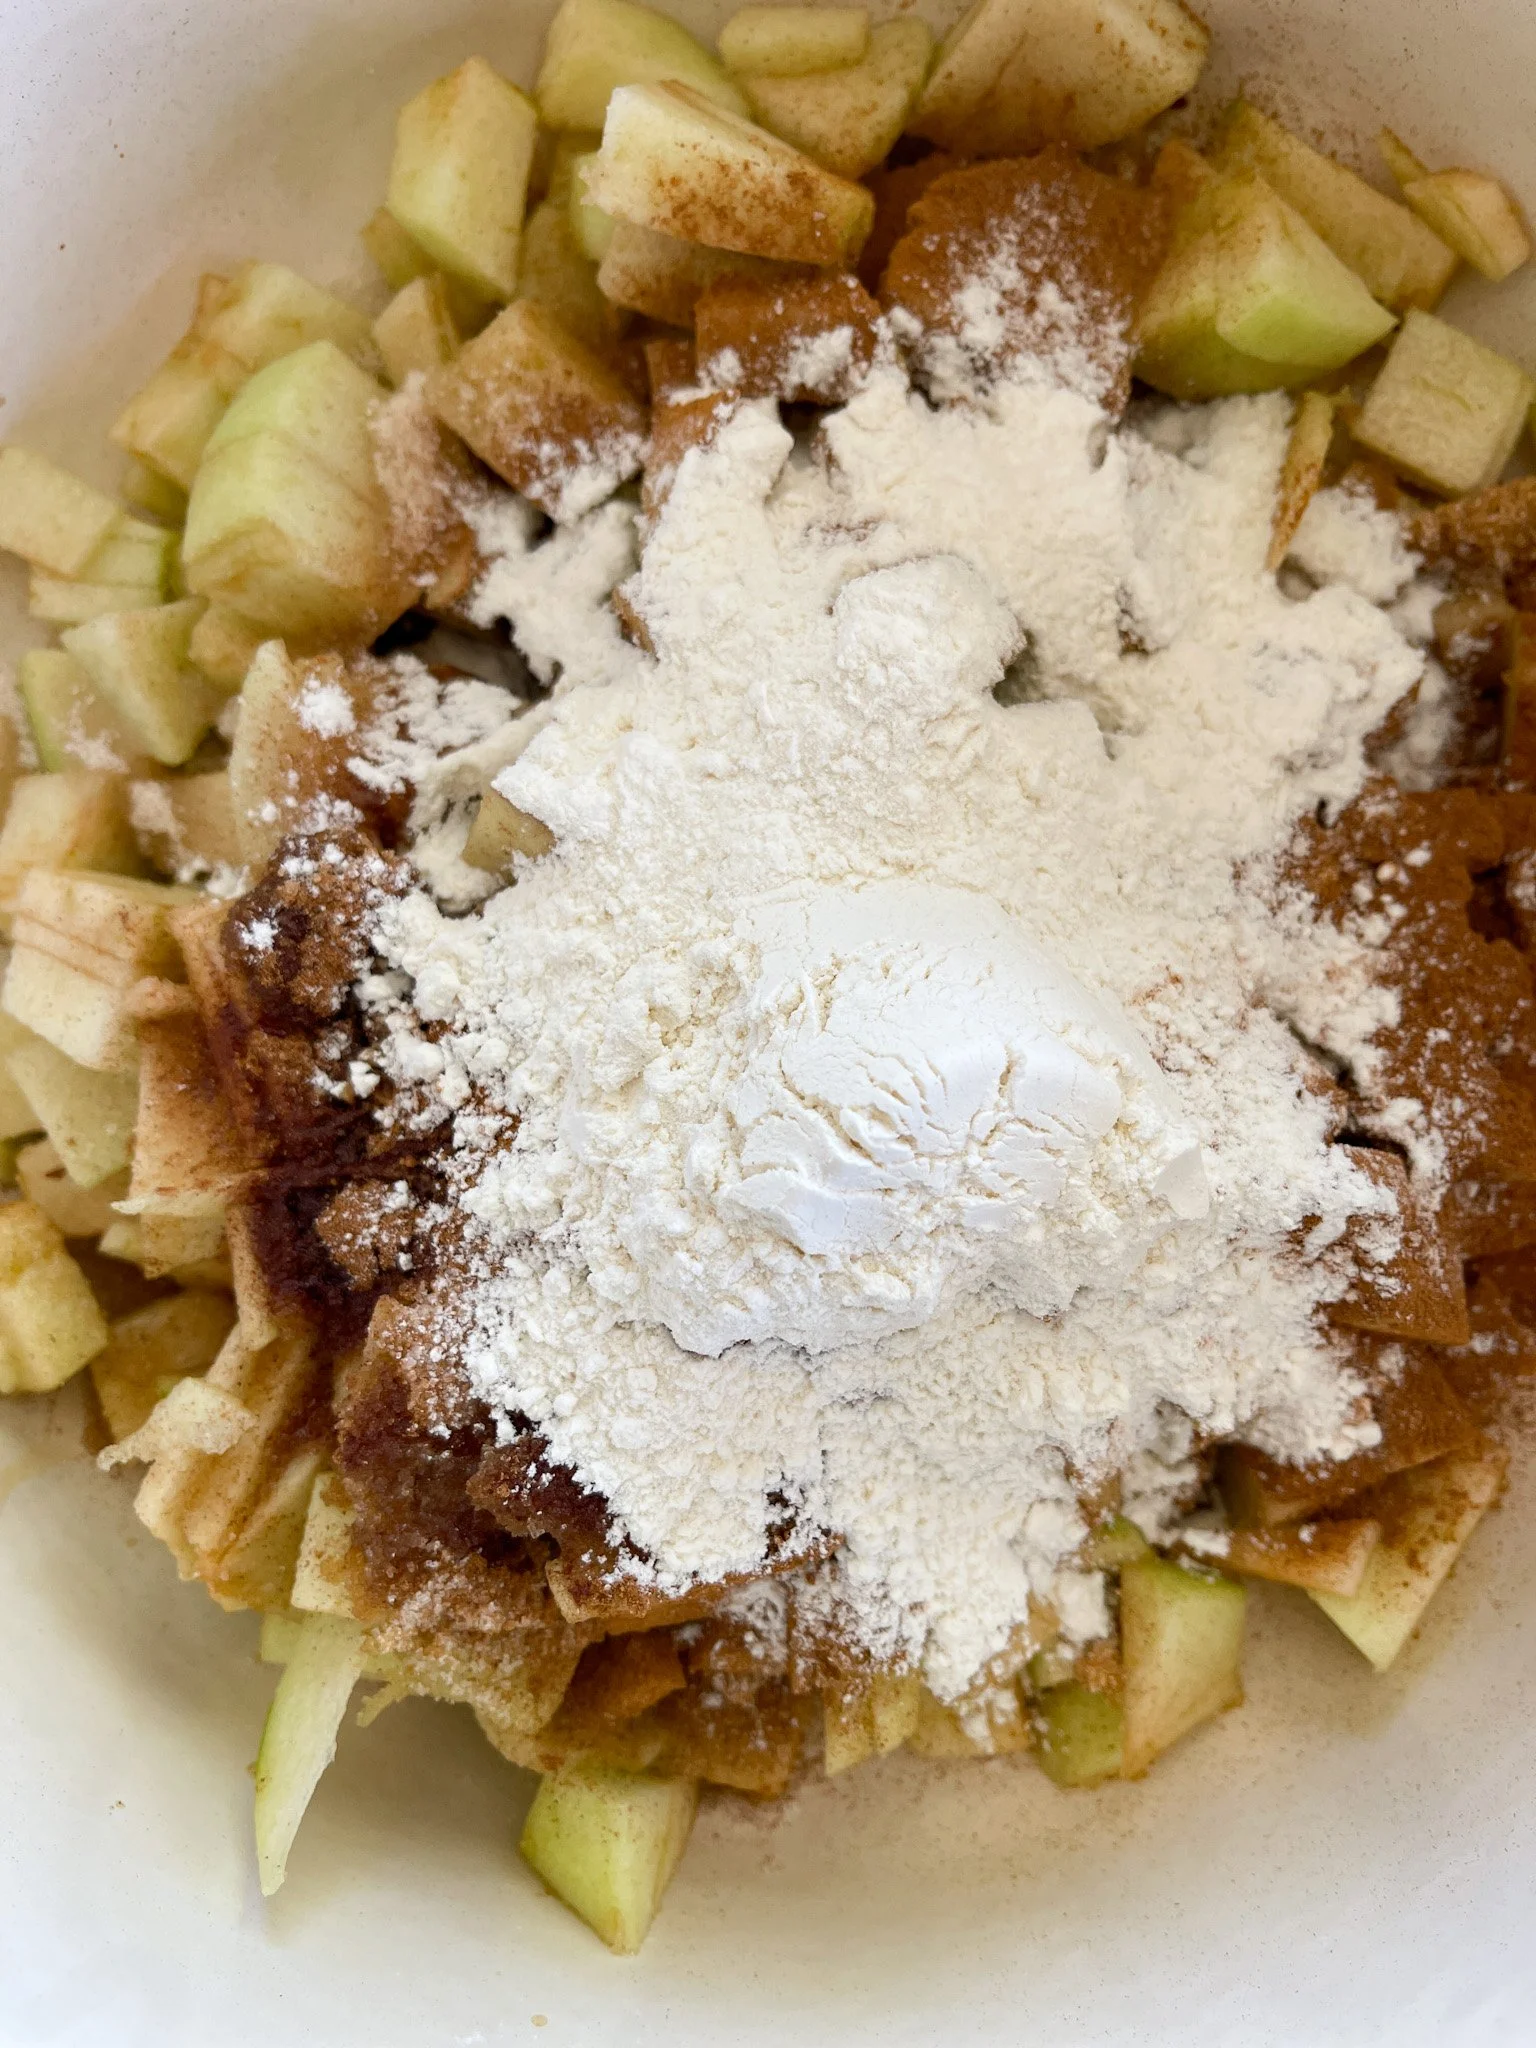
Wash, dry, peel, and finely chop your apples.
Add the chopped apples, 6 tablespoons of butter, both sugars, flour, cinnamon, vinegar, and pinch of salt to your large pot or pan and set the heat to medium.
Stir all the ingredients well and let the mixture cook for 7 to 10 minutes, or until the sugar has dissolved and the apples have softened a bit (you want them to be fork tender, but not mushy).
When done, remove from the heat and set aside to cool while you make the dough.

Top Tip #1
Know when your dough is properly kneaded
The better your dough is kneaded, the better the result will be for your final baking product!
Here’s how to know when your dough is ready to go!
Your dough has gone from shaggy to smooth, with a nice supple sheen
The sides of your bowl (or your hands) are mostly free from any dough sticking to it/them
If you’re using a mixer, your dough will often form a tight ball around the hook and “slap” the sides of the bowl
And the number one sign- Your dough doesn’t immediately break when you pull at it. You can test this by tearing a piece of dough from the ball. If you can stretch the piece of dough so you can see through it without it breaking apart, your dough is properly kneaded and good to go!

Dough and Assembly
I suggest using a stand mixer for best results if you have one. If not, you can still make these rolls, but it will take you a bit longer as this dough has a good amount of fats in it with butter and oil. You can do it though! It will just take a bit of patience.
Add flour, sugar, and rapid rise yeast to a large bowl or the bowl of your stand mixer. Set aside.
Warm the milk to between 120°–130°F (see note above if you don’t have a thermometer ), then add to the bowl with the dry mixture.
Add in the oil as well and mix on a low speed until the dough comes together and becomes shaggy.
Add in the room temp butter and continue to mix on medium speed until butter incorporates into the dough (it may be a little wet and sloppy at this point, but that’s ok).
Once the butter has mostly incorporated, set the mixer to medium-high speed and let mix until the dough turns smooth, supple, and elastic (around 13-15 minutes depending on the speed of your mixer).
You want to work your dough enough so that when you pull it apart, you can stretch it a fair bit before it tears and breaks. You will get a better result from your dough if you take the time to do this.
When done, remove the dough from the bowl and place on the counter to rest for 10-15 minutes (if you are using active dry yeast, it will have to rest longer- 30 minutes to an hour).
After the dough has rested, roll it out into about a 10” x 14” rectangle, then smear the remaining butter over the surface, leaving about ¼ inch butter free at the top.
Spoon the cooled apple mixture on top of the buttered dough.
Roll the dough away from you, making as tight of a cylinder as you can (it can be a bit more challenging with the apples). When you’ve come to the end, keep rolling so that the dough rolls onto itself and makes a tight seal at the bottom- this will help to secure your roll.
Cut into 6 or 8 even pieces with a sharp serrated knife or dental floss.
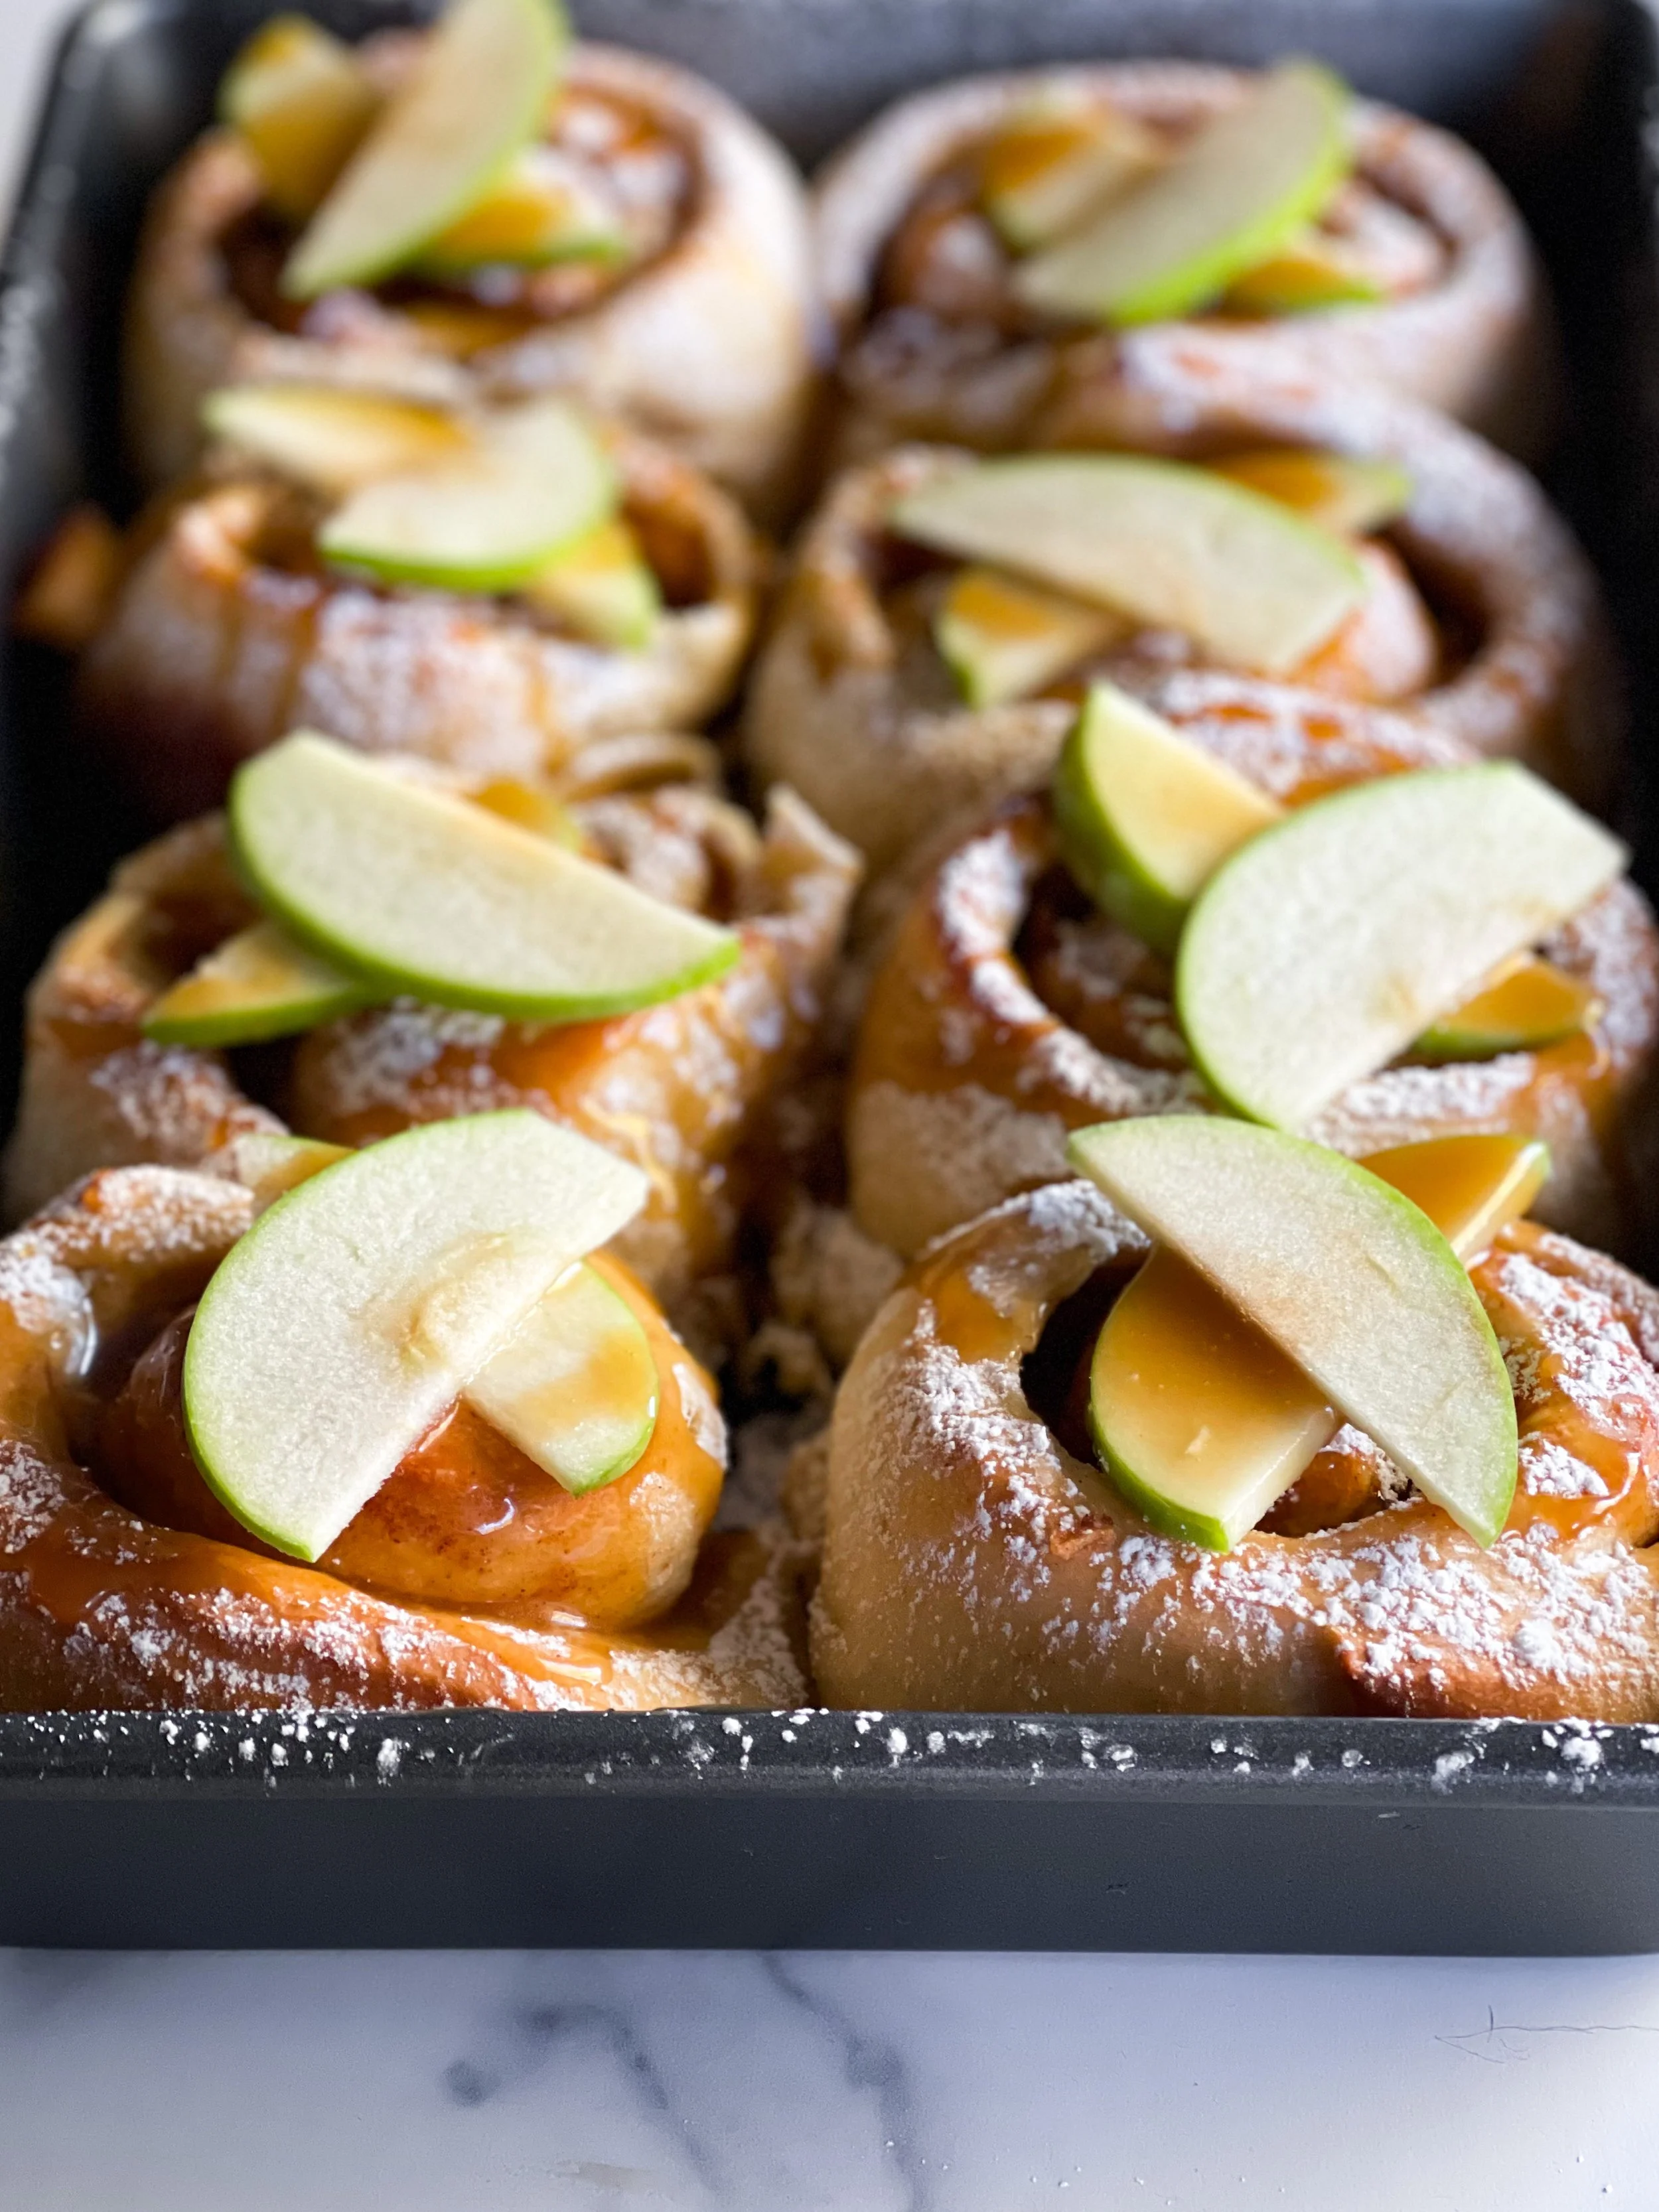
Place rolls in a 9” x 13” pan and place a towel loosely over the top.
Let the rolls rise until almost doubled in size- about 35-55 minutes (depending on your kitchen temperature and conditions).
When rolls have risen, place them in your preheated oven and bake on the middle rack until golden brown- about 15-20 minutes.
After the rolls are baked, remove from the oven and let them cool for 10-15 minutes.
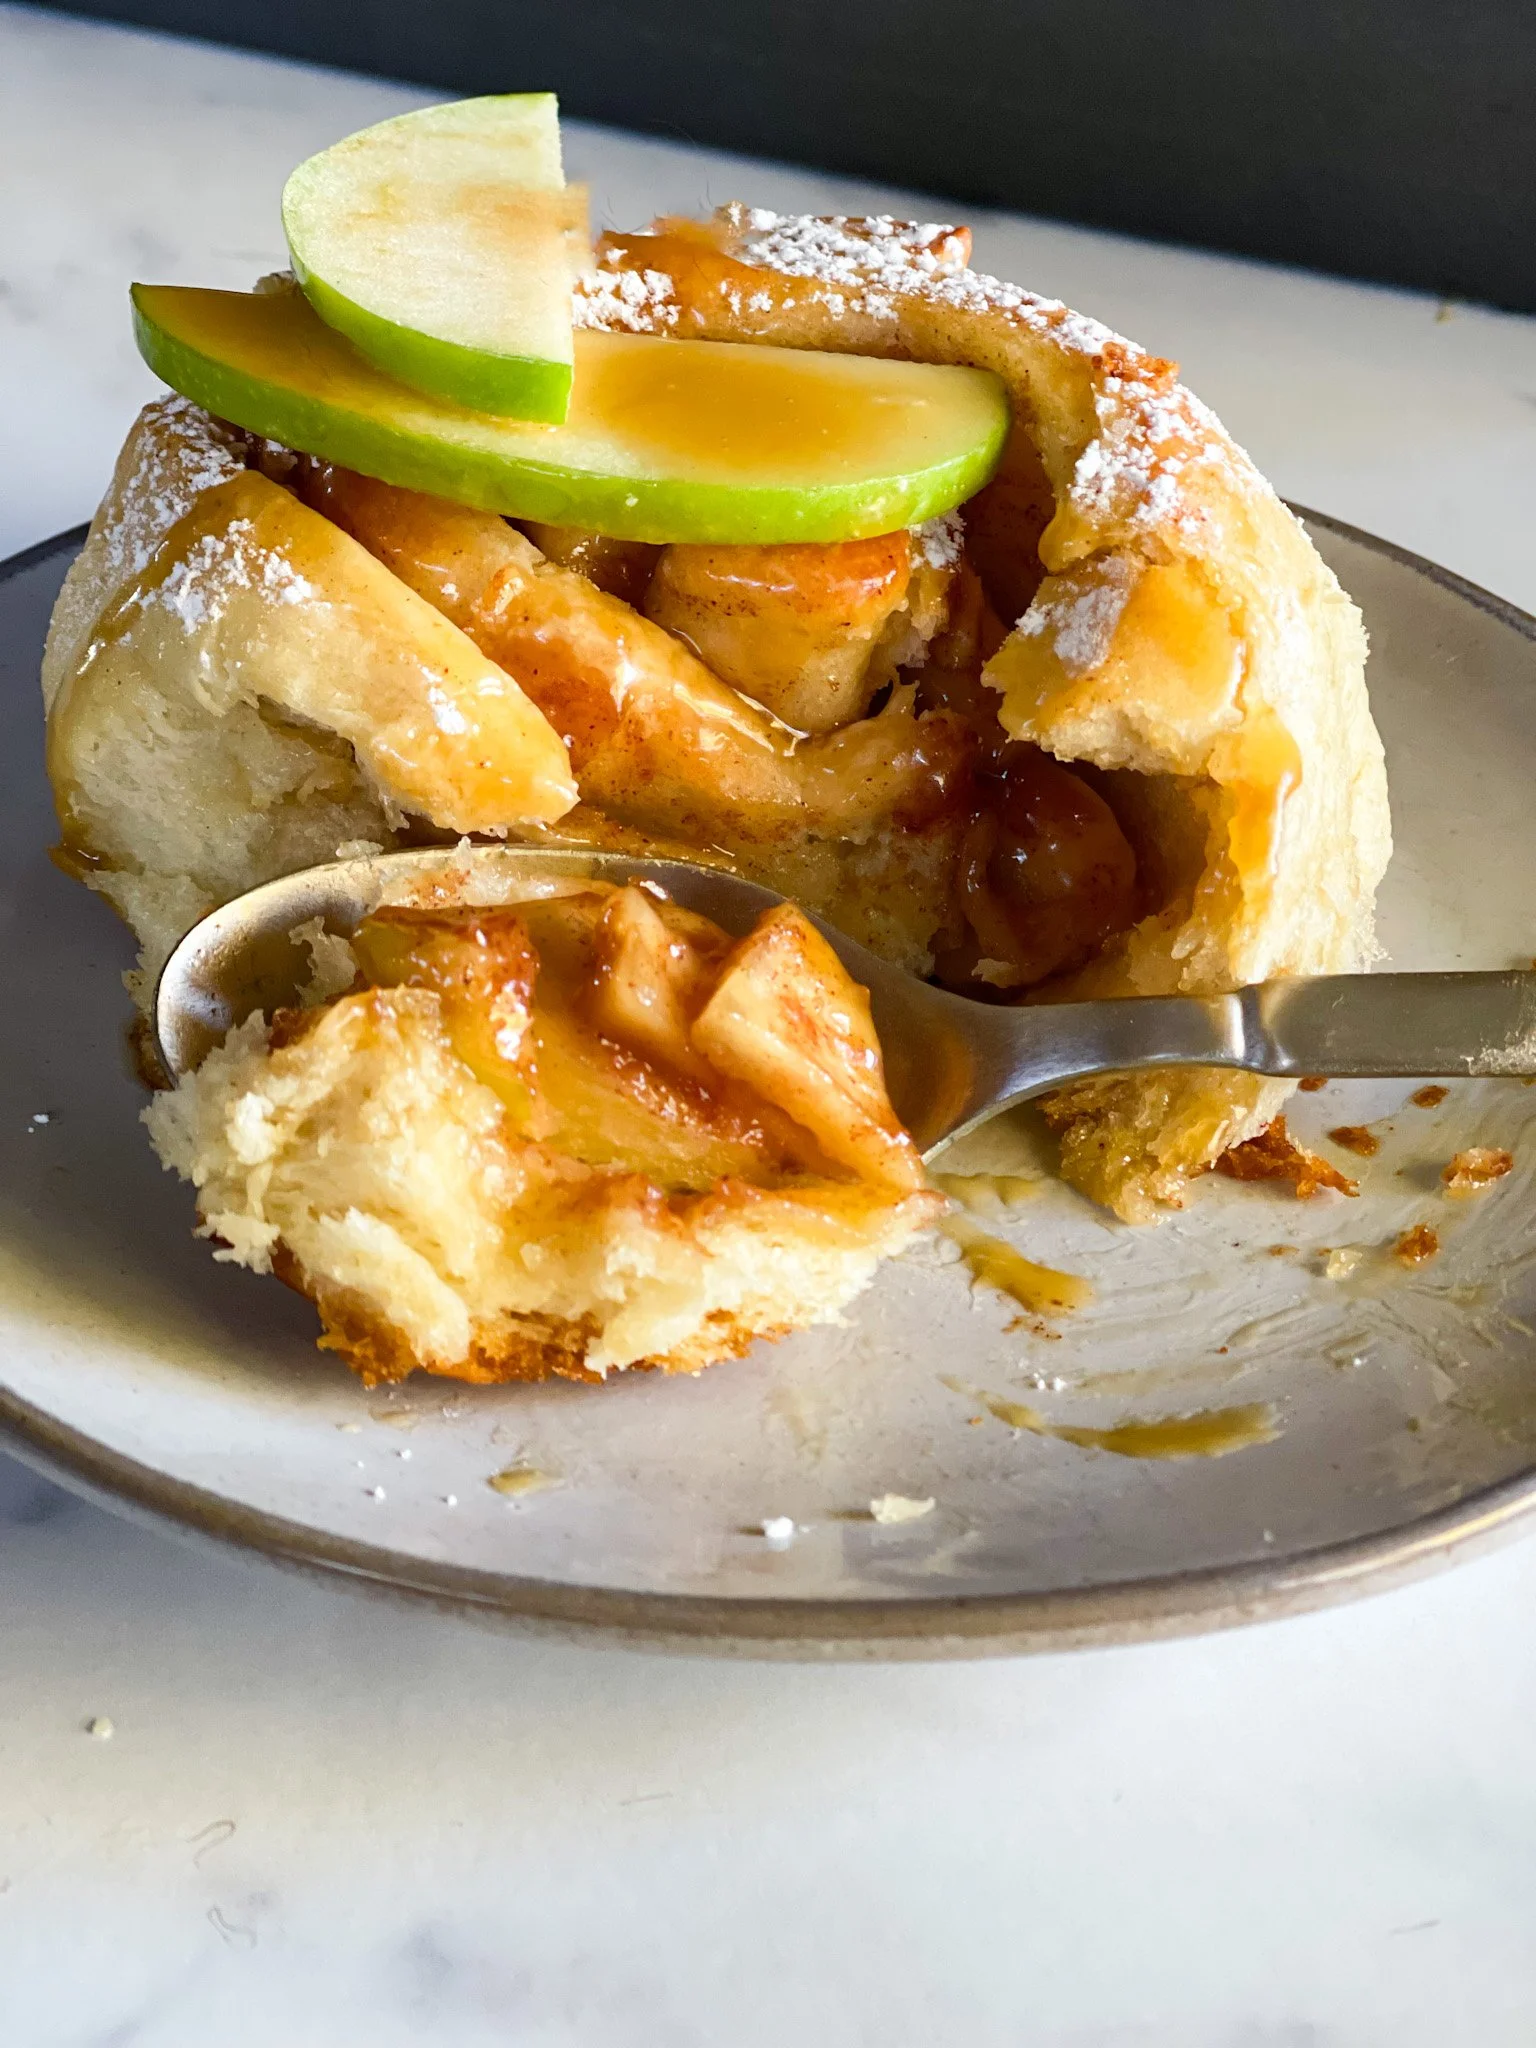
When the rolls have cooled, remove from the pan and drizzle the salted caramel over the tops, or sprinkle with the powdered sugar if not making the caramel. Or even better, do both!
Eat warm- enjoy!

Storage and Use
Rolls taste best fresh, but here is how to handle the leftovers if you have them-
If you’re not eating all of the rolls right away, make sure not to top with the caramel or powdered sugar until you are ready to eat them. This way, you can reheat them, and add the topping when you’re ready to eat.
Store the rolls in an air-tight container and store in the refrigerator for 2-3 days.
When ready to eat, place in the oven at 350° for 5- 7 minutes to warm through again.