Garlic Herb Pull Apart Rolls

Easy. Fluffy. Garlicky and delicious. If you’ve been thinking about making your own rolls- this is your sign.
Shopping List:
Rapid Rise/ Instant/ or Active Dry Yeast
Bread Flour
Vegan Butter (preferably unsalted)
Plant Milk (plain, unsweetened)
Sugar
Garlic powder (optional)
Fresh herbs ( I like Italian parsley and cilantro)
Kosher Salt
White vinegar
Just Egg, or vegan liquid egg (optional)
Equipment:
Stand mixer w/ dough hook- you can definitely make these by hand, but if you have a stand mixer, I would say use it
Large bowl (if not using a stand mixer )
Liquid measuring cup
Cooking or candy thermometer (optional, but helpful)
Scale, if using ( you should! )
8” x 8 “ baking pan
Cooling rack
Kitchen towel, bowl cover, or plastic wrap
Whisk
Very sharp knife
Makes 9 rolls
Products Used:
Links provided below-
Active Dry Yeast- I prefer active dry over rapid or instant yeast, but you can use an instant yeast if you prefer. It does make things a little bit easier. With RapidRise yeast, you do not need to dissolve the yeast in water- instead you can add it directly to the dry ingredients, then add the warm liquid and fats when you start to mix the dough. Also, using an active dry yeast does require two rises, whichRapid Rise does not . Instead, you just need to let it rest for 10 minutes after you knead the dough. I personally think that using active dry yeast results in a more flavorful end result, however, most people probably will not notice, so if you need to save time, go for the Rapid Rise Yeast.
King Arthur Bread Flour- Any bread flour will do, King Arthur is just my preference. If you only have all purpose, go ahead and use it instead
Miyoko’s or Violife Plant Butter- I used to be a real ride-or die Flora butter fan, but unfortunately they stopped production here in the U.S. It’s a bummer, but I also enjoy both of these- especially Violife. I’m using unsalted, but if salted is all you have access to, feel free to use- but reduce the salt in the recipe by about half and see how that works out. In the end, you should use the butter that is your favorite, affordable or readily available to you. However, I’ll be honest and say that I do not like how Earth Balance makes my baked goods taste.
Silk Unsweetened Organic Soy Milk- what type of plant milk doesn’t really matter too much in this recipe, just make sure it’s unsweetened and unflavored.
Notes:
Yeast- This recipe calls for Active Dry Yeast, however, if RapidRise is your preference, that works too. RapidRise does not require two rises or proofing the yeast (see The More You Know below) before you start.
How to use RapidRise Yeast-
Make sure the good by date on packed hasn’t expired
Wet ingredient temp should be between 120°–130°F
If you don’t have a thermometer, make sure the milk is hot (not scalding hot or you will kill the yeast), and definitely not boiling.
Add yeast to dry ingredients, then make a well in your bowl to add the warm liquid to mix
After dough is needed, let rest 10-15 minutes only- you can skip the first rise
After rested, assemble and cut rolls and let rise 30-60 minutes (depending on the temperature in your kitchen)
Butter- If you can only find salted vegan butter, that’s ok, just reduce the salt amount a bit (try ¼-½ teaspoon). The amount of salt in salted butter varies, though, so you may have to play around with it.
Vinegar- Adding a splash of vinegar to your bread dough does wonders! It gives the bread a better rise, makes it lighter, and can even keeps it fresh longer by fighting off mold. Plus, it adds a nice little tang to the flavor.
Measuring- Listen… just go ahead and get a scale! They’re cheap and the most accurate for baking. I use them to develop my recipes and do the best I can to convert from weighted measurements to cups out of courtesy to those who don’t have one, but trust me, if you like to bake- get one. It will be the best $20 dollars you spend to improve your recipes. Otherwise, make sure that you use the scoop and level method to measure out your flour to avoid using more than the recipe calls for.
The More You Know- Yeast
Proofing yeast is all about checking if it's active enough to help your dough rise.
You do this by mixing the yeast with warm water and a bit of sugar, then waiting for it to form a creamy texture with lots of tiny bubbles.
This bubbling action shows that the yeast cells are alive and ready to work to make your dough rise.
T = tablespoon tsp = teaspoon C = cup g = gram ml = milliliter pinch = around 1/8 teaspoon
Recipe Prep:
Bring butter to room temp
INGREDIENTS:
Dough
420 g (3 ½ C) bread flour (can sub with All Purpose flour )
2 ¼ tsp. or 1 packet Active Dry Yeast (you can substitute with RapidRise Yeast- see notes here )
2 tsp garlic powder
2 tsp kosher salt (use about half the amount if using salted butter)
240 ml (1 C) plant milk, unsweetened (100°–110°F for Active Dry Yeast, 120°–130°F for RapidRise) * if using RapidRise Yeast, use 300 ml plant milk (1 ¼ C) and leave out water*
60 ml (¼ C) warm water (for Active Dry Yeast), 100°–110°F
25 g (2 T + 1 tsp. ) granulated sugar, divided
28 g (2 T) vegan butter
30 g (2 T) oil, neutral
1 tsp. white vinegar
Herb Compound Butter
76 g (⅓ C) vegan butter, unsalted (room temp)
2-3 cloves garlic finely minced
pinch kosher salt
2 T Italian parsley, finely chopped
2 T cilantro, finely chopped
feel free to tailor the herbs to your liking…this is just my preference. You can use all Italian parsley or swap out cilantro for chives
Glaze
1 tsp. Just Egg or other liquid egg substitute (optional)
2 tsp. milk

PROPERLY KNEADED DOUGH
You can test if your dough is ready by tearing a piece of dough from the ball. If you can stretch the piece of dough so you can see through it without it breaking apart, your dough is properly kneaded and good to go
Preheat oven to 375° F/ 190° C
DIRECTIONS:
In a liquid measuring cup, heat 60 ml (¼ cup) of water to 100°–110°F, then add one teaspoon of sugar and your yeast. Stir with a small whisk or a fork and set aside to proof for 10 minutes or until the mixture becomes bubbly and foamy (see The More You Know).
Warm your milk to 100°–110°F (this is not as critical, as you are proofing the yeast in warm water, but it is still best if you use warm liquids). Add the vinegar and give it a quick stir, then set aside for at least 5 minutes to thicken and curdle.
In the meantime, add in flour, sugar, salt, and garlic powder to a large bowl or the bowl of your stand mixer, then mix with a dough hook on low speed (or by hand). Add in the prepared yeast and milk and mix until you form a shaggy dough.
Add in oil and slowly add in the room temp butter until it is fully incorporated into the dough.
Let the dough rest for five minutes.
If mixing by hand, turn the dough out onto a lightly floured work surface and knead with the palm of your hand. If using a mixer, turn it to medium/medium-high speed and mix until dough is smooth, supple, and you can stretch it quite a bit before it breaks (see TOP TIP below ).
When done, form the dough into a ball and place it back into the bowl and cover with a towel or plastic wrap. Let it rise until it is about doubled in size (about 1-2 hours, depending on how warm your kitchen is). If using RapidRise yeast, make sure to follow the instructions here.
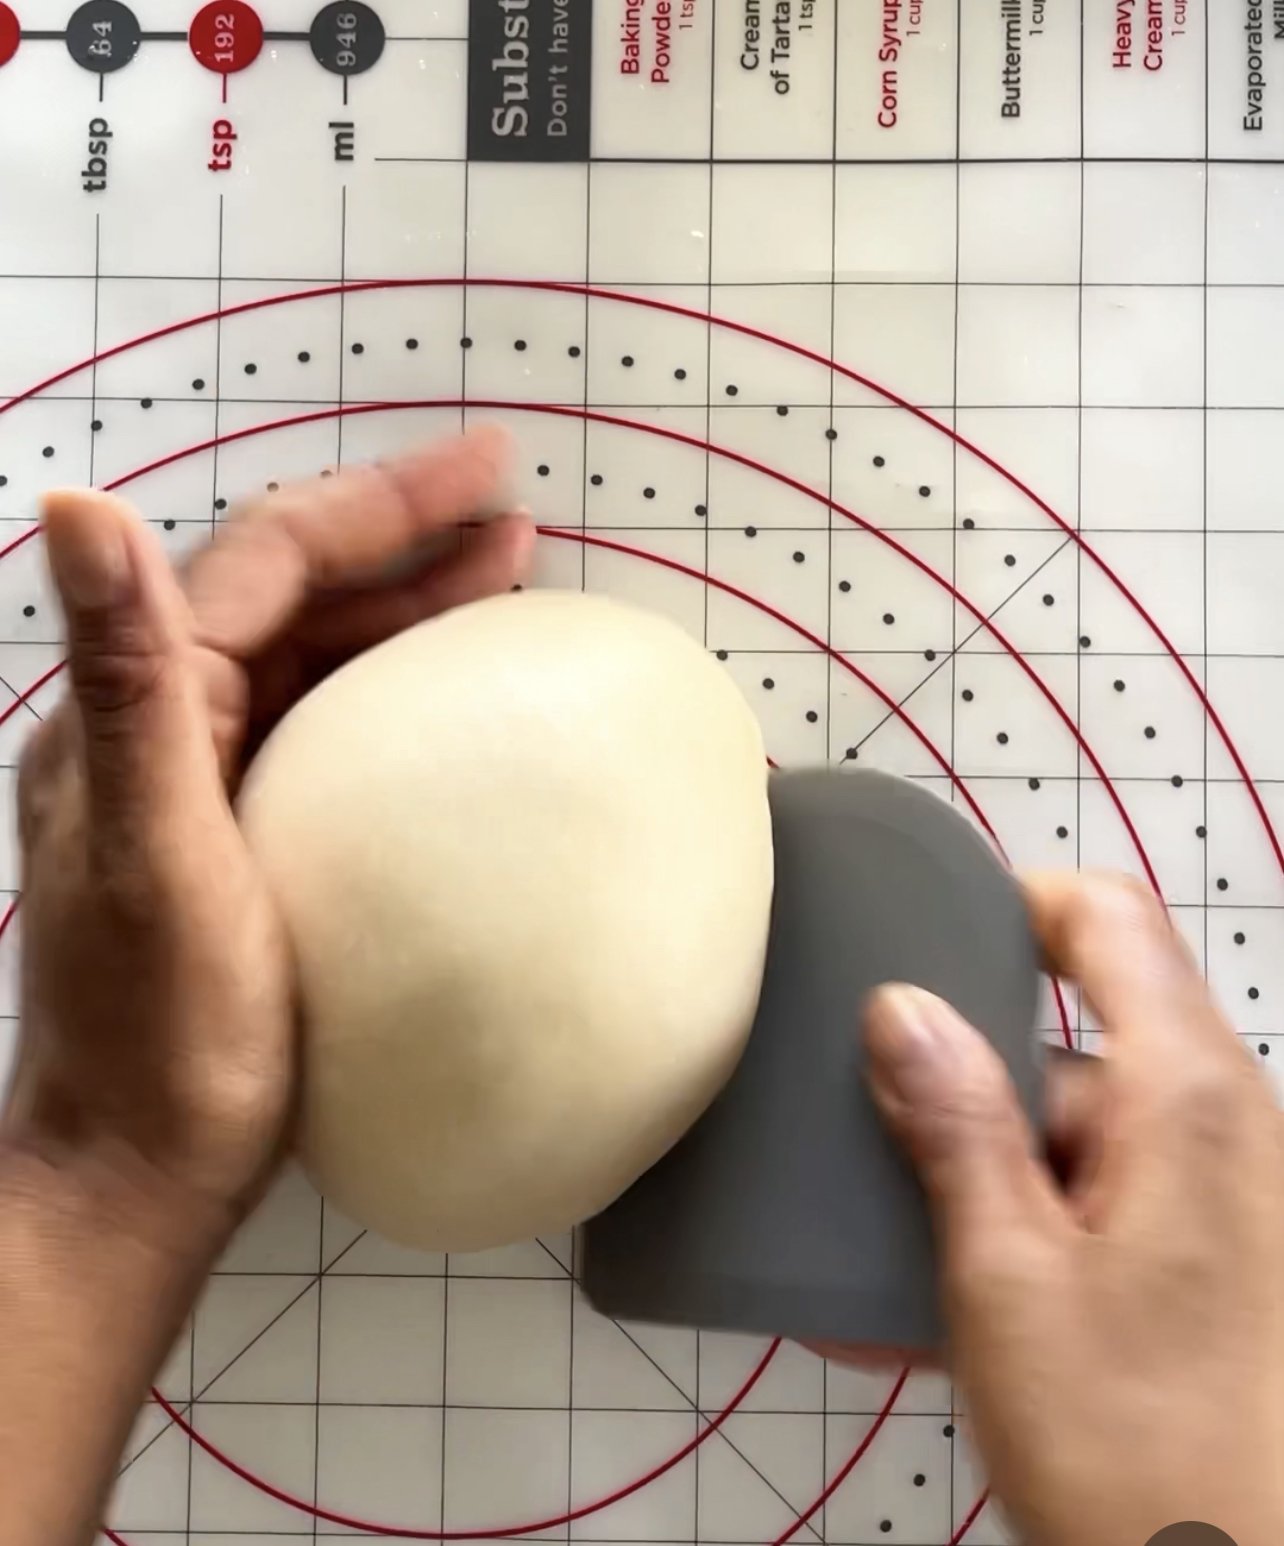
Divide the dough evenly into 9 pieces (a scale is really handy for this if you like it precise), then form into balls and place in an 8x8 baking dish and cover loosely with your clean towel
Let the dough rise for 45-90 minutes (depending on your kitchen temperature) or until you can gently poke it and it slowly rises back to form (you want them to not quite double in size). * To make for a quicker rise, you can place your dough into your oven with the door closed-don’t turn it on-with a pan of hot water set underneath your pan *
While your dough is rising, make your compound butter.
Finely chop the garlic and add a pinch of salt. Continue to chop and use the back of your knife to press and smash the garlic to form a paste.
Finely chop your herbs, then add them to a small bowl along with your garlic and butter. Mix the mixture together until well combined. Set aside.
When your rolls have risen, brush the tops with Just Egg and milk mixture (or combine oil or butter with milk).
Place on the middle rack of your preheated oven and bake 20-25 minutes or until tops are golden brown
Once out of the oven, dollop the herbed butter over the tops, then use a brush to spread the butter to evenly coat.
Let the rolls cool for a couple of minutes so you can handle them, then- Enjoy!

TOP TIP
Know when your dough is properly kneaded
The better your dough is kneaded, the better the result will be for your final baking product!
Here’s how to know when your dough is ready to go!
Your dough has gone from shaggy to smooth, with a nice supple sheen
The sides of your bowl (or your hands) are mostly free from any dough sticking to it/them
If you’re using a mixer, your dough will often form a tight ball around the hook and “slap” the sides of the bowl
And the number one sign- Your dough doesn’t immediately break when you pull at it. You can test this by tearing a piece of dough from the ball. If you can stretch the piece of dough so you can see through it without it breaking apart, your dough is properly kneaded and good to go!

Storage and Use
Rolls taste best fresh, but here is how to handle the leftovers if you have them-
Store the rolls in an air-tight container and store in the refrigerator for 2-3 days.
When ready to eat, place in the oven at 350° for 5- 7 minutes to warm through again.