Bakery Style Chocolate Chip Cookies
It's no secret that chocolate chip cookies hold a special place in our hearts. They are the reigning champions of the cookie universe, universally adored and favored by (almost) everyone. A chocolate chip cookie is my favorite cookie… and I don’t even like chocolate that much.
If I had to describe chocolate chip cookies, I’d say that they’re like a warm, sweet hug for your taste buds. And what I love about them is that they are simple, yet versatile.
Because of this, they have inspired countless variations, styles, and recipes that make choosing just one nearly impossible.
However, today, I'm going to let you in on a little secret: my all-time favorite chocolate chip cookie recipe!
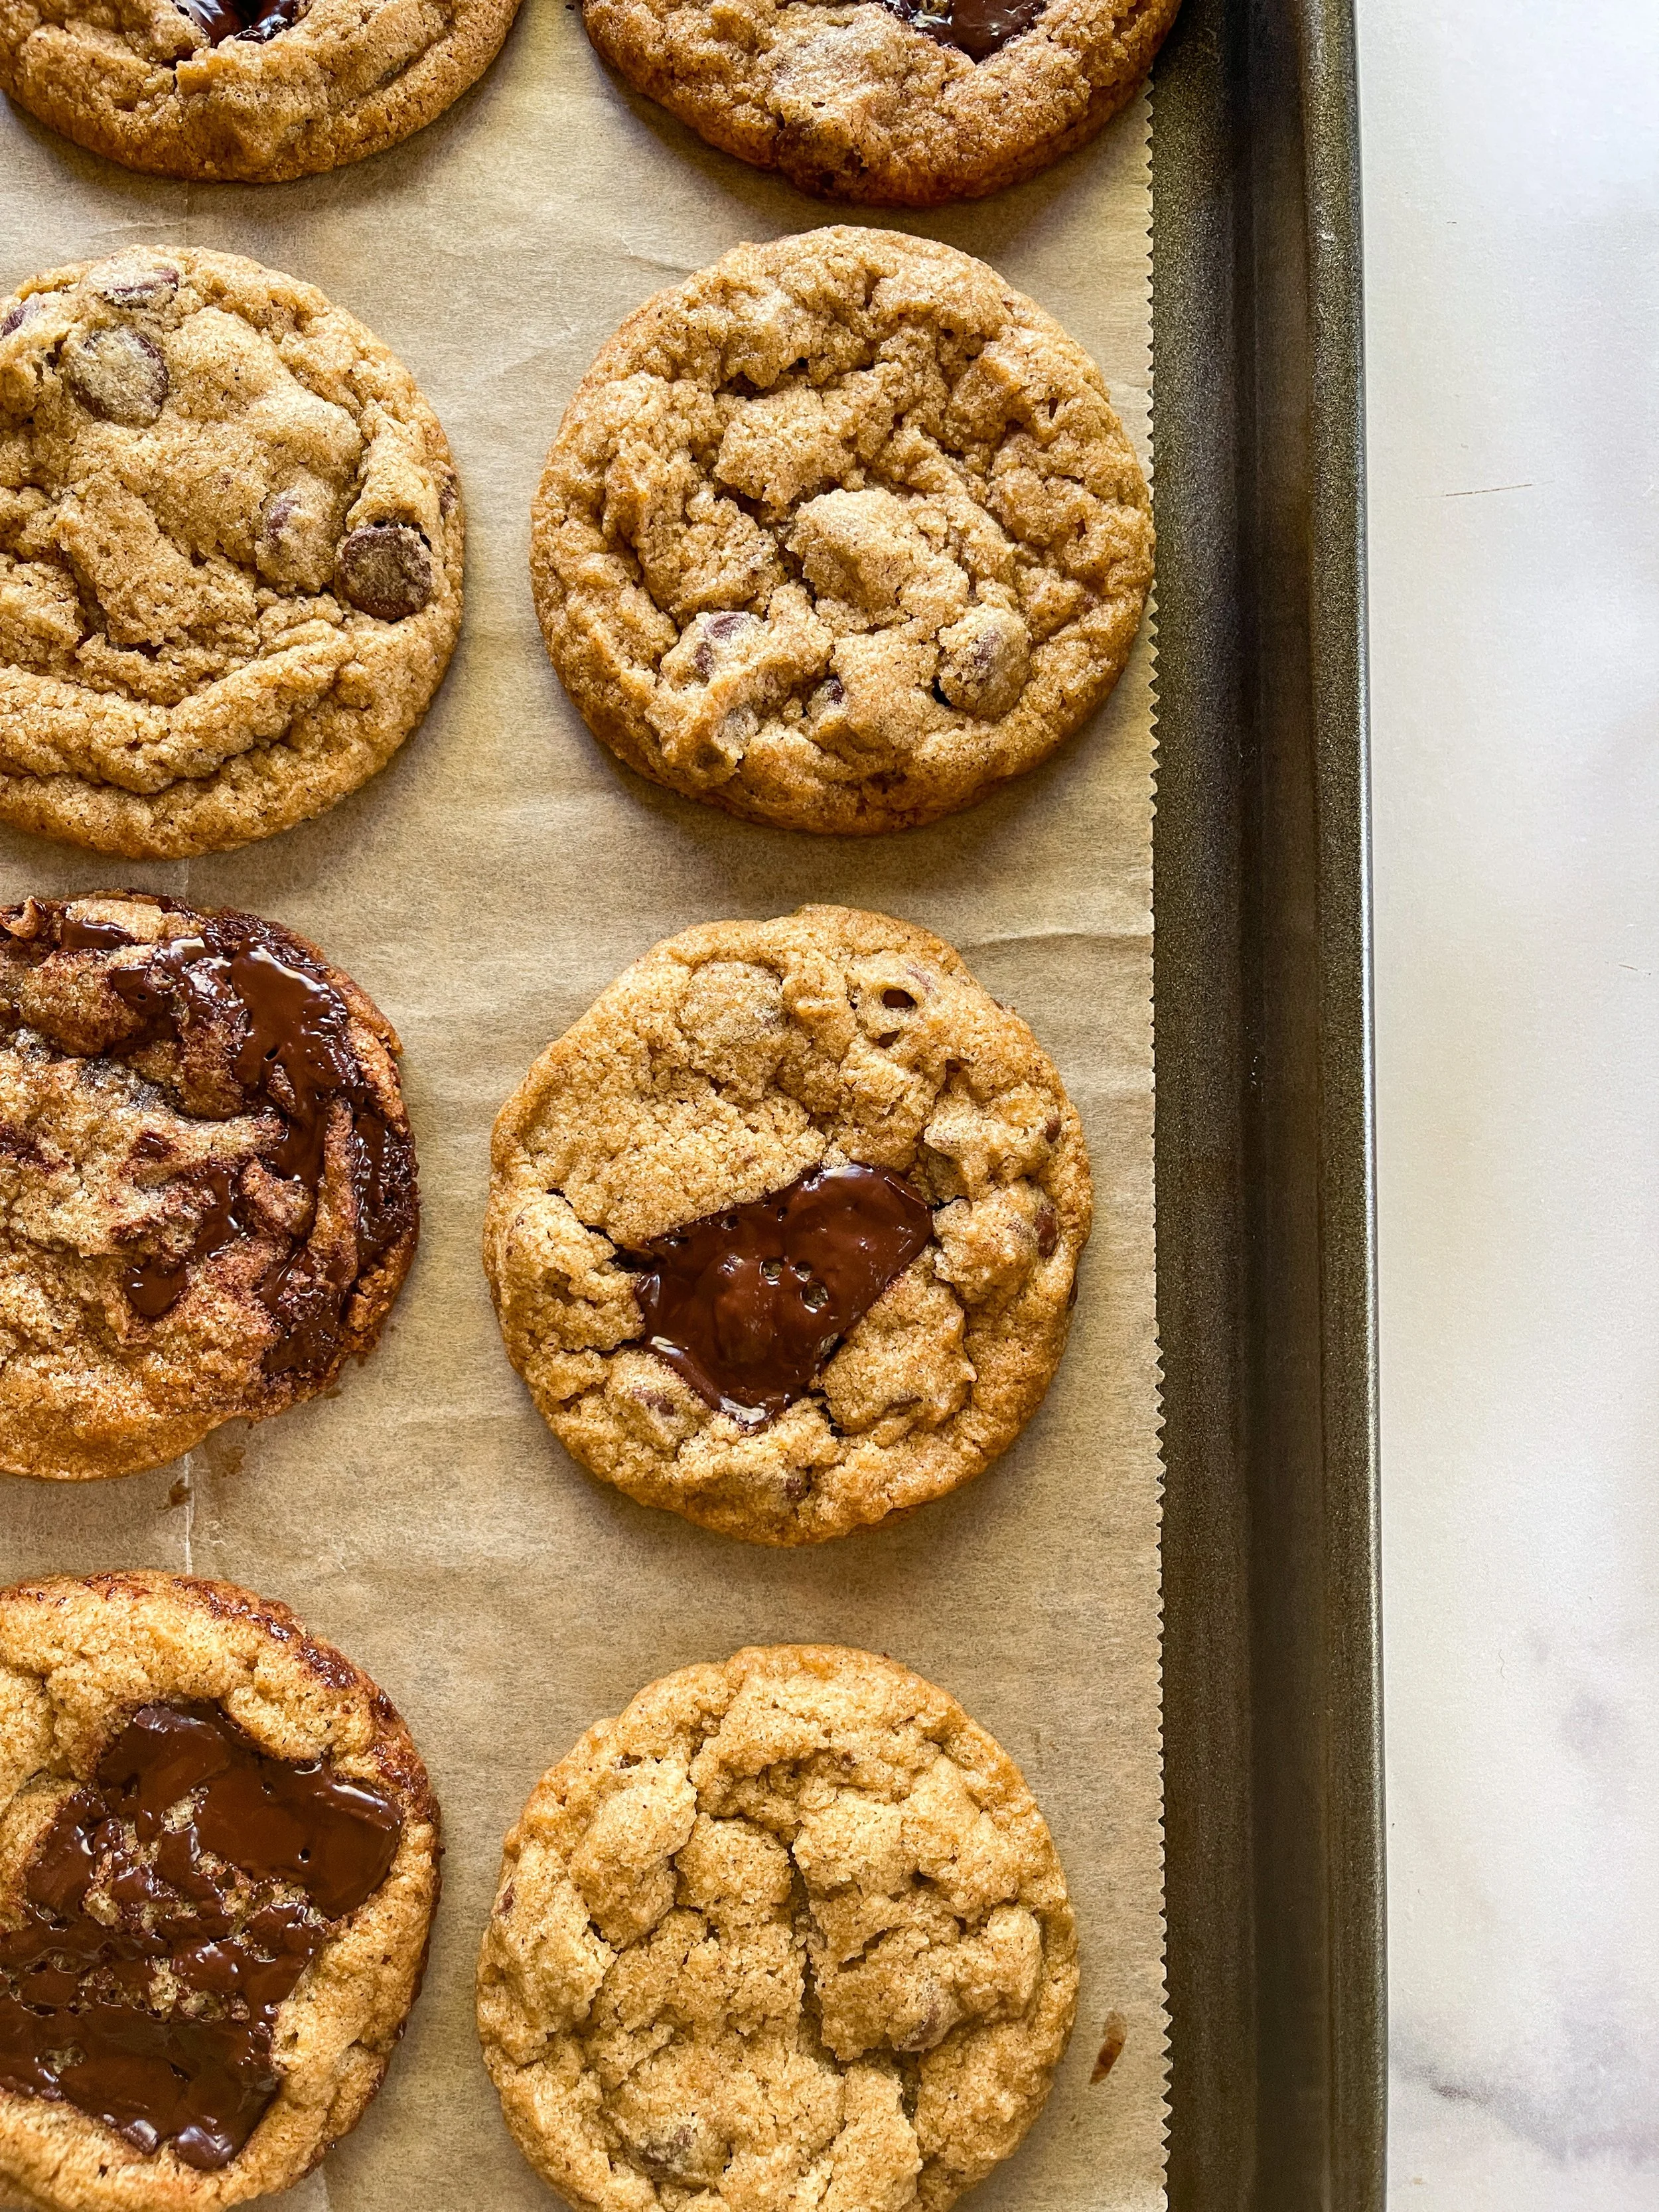
Honestly for me, these cookies are perfectly balanced. Slightly crispy, slightly chewy, and a bit soft and gooey in the middle.
I know I’m supposed to say that these are THE BEST chocolate chip cookies ever, but to be honest, I HATE reading that on a blog post.
And it’s not because I’m a hater…
Or I don’t believe in the deliciousness of my own recipe…
It’s just that taste is soooooo subjective.
I mean, there are people out there who LOVE the Olive Garden (no shade if that’s you). But you know, it’s just not for me.
So despite what I’m supposed to say (to appease the SEO gods), you will NEVER see me write those words, no matter how much I love a recipe.
Instead, I invite you to try this recipe out and see if this is in fact the best chocolate chip cookie- to you.
Either way, I’m happy to share it with you…finally. Enjoy <3
Skill Level- Easy
EQUIPMENT NEEDED
Hand or stand mixer
Large bowl or the bowl of your stand mixer
Small bowl
Scale or measuring cups
Measuring spoons
Silicone spatula and whisk
Sifter/ Sieve (optional)
Baking sheet
Parchment paper or silicon mat
Cooling rack
Extra large or large ice cream scoop ( or 1/4 - 1/2 measuring cup) Use 1/2 cup measure or extra large scoop for bakery size cookies
Makes- between 12-20 cookies (depending on size)

PRODUCTS USED
Links provided below-
King Arthur All Purpose Flour- Any all purpose flour will do, King Arthur is just my preference.
Endangered Species Chocolate- As chocolate goes, dark chocolate is not my favorite. But I love to support this company and these bars are readily available to me in my local stores. They do have an oat chocolate bar (which I have not tried yet) which I’m sure would be lovely. I also use Guittard Organic Semi-Sweet Baking Wafers which are not labeled as vegan, but are vegan-friendly. I use these less often since I rarely find them in the store anymore.
Miyoko’s or Violife- I’m using unsalted butter here, because that is the preference in baking. BUT, if you can only find salted butter, that’s fine. And typically, treats that contain chocolate can handle a bit more salt. However, reducing the amount of salt in recipe by 1/4 to 1/2 teaspoon will usually do the trick to offset salted butter. BUT, all butters are salted differently so it’s hard to say exactly. It also depends on what type of salt you’re using (see below regarding this). All that being said, feel free to use whatever butter is your favorite, affordable and/ or readily available to you (I’ll be honest tho, I reeaaally hate the way Earth Balance makes my baked goods taste…sorry).
Diamond Crystal Kosher Salt- the chef’s salt (for various reasons) that I won’t get into here. The important thing to note is that it contains 53% less sodium than standard salt. So, that’s why I say to use half the amount the recipe calls for if you’re using another kosher salt like Morton, Pink Himalayan, sea, or table salt.
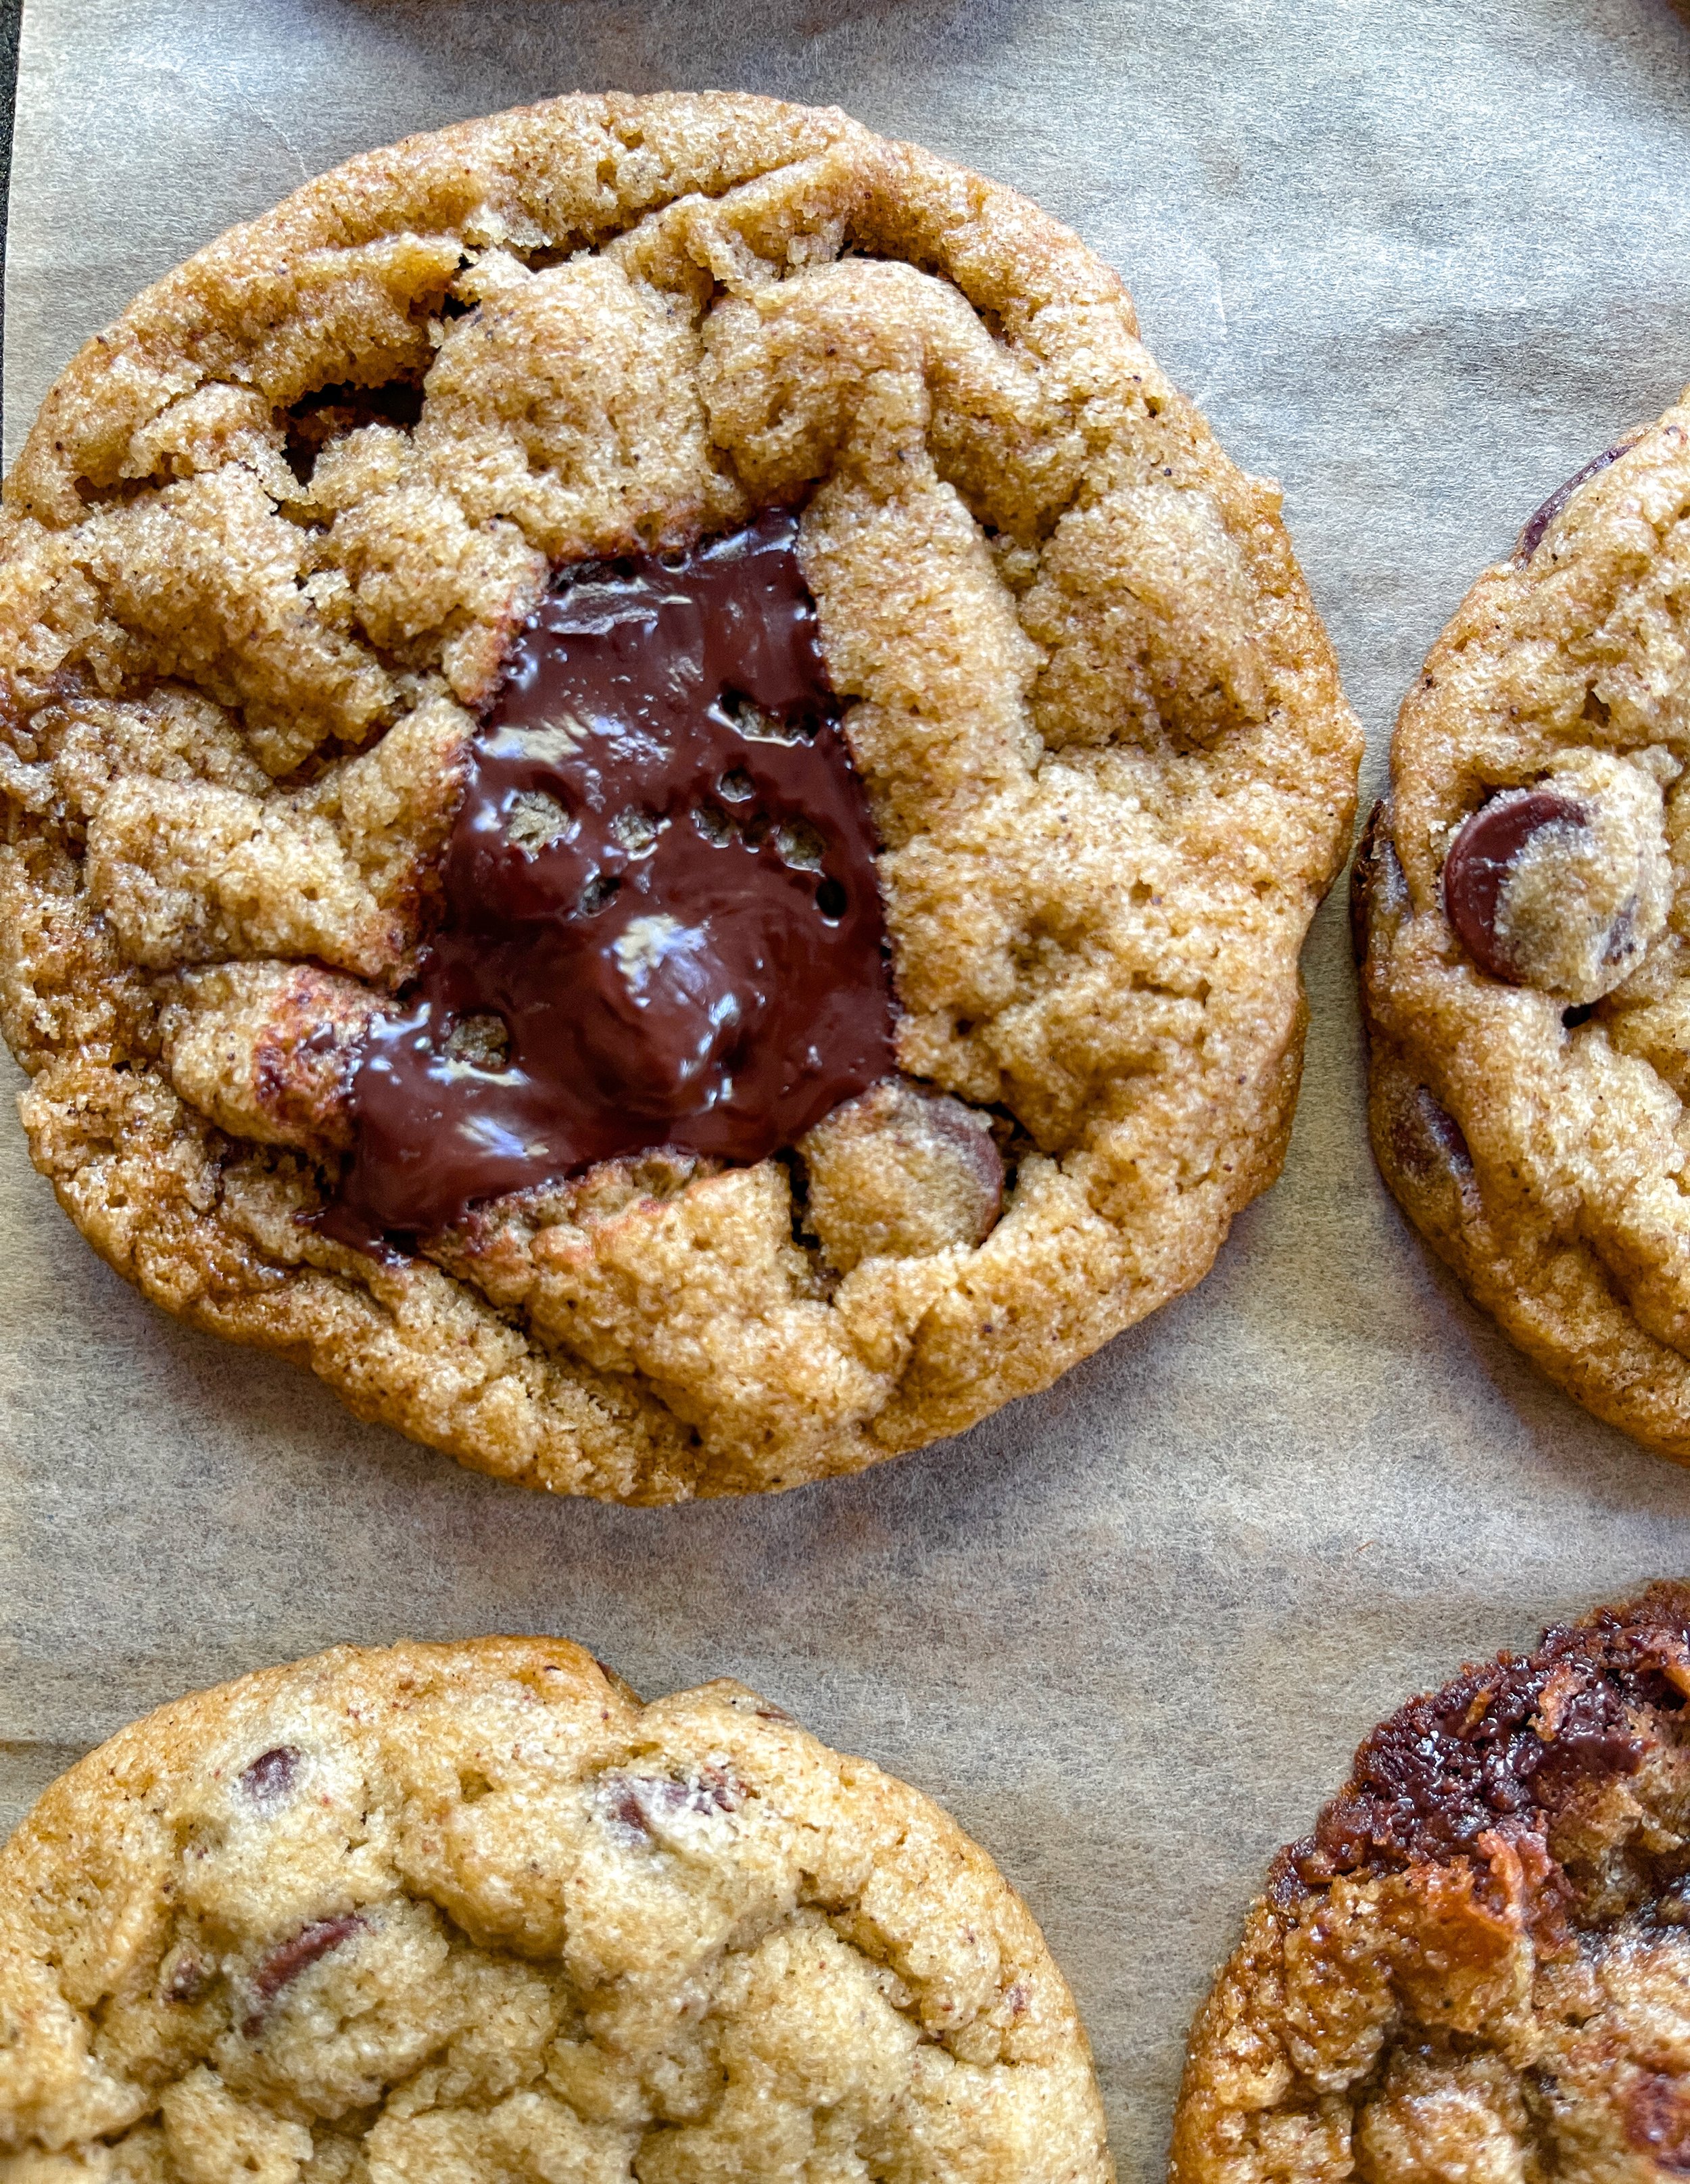
SEXUAL CHOCOLATE
They’re nothing quite as sexy as big sexy pools of melted chocolate on a cookie pic, am I right? If you like ooey, gooey chocolate, use a chocolate bar or wafers in the place (or in addition to) chocolate chips.
NOTES
Resting and Refrigerating Dough
I know! You hate this one. But let me explain…
There are two reasons I want you to refrigerate the dough.
It keeps the cookies from spreading too much. Truthfully, I am looking for the cookies to get a nice spread- because my preference is a thinner, chewier, ripplier cookie. However, this recipe calls for a lot of butter (for flavor) and as I mention below, vegan butter holds a bit more water. So to use the amount that I do, the butter needs to chill so that it can set first before baking.
A rested dough, is a more flavorful dough. This is pretty much true of any cookie or yeasted dough. Resting the dough allows the flour to fully hydrate and absorb all the delicious flavors.
Chocolate
I like to mix a dark chocolate bar with semi-sweet chocolate chips (I will be trying with some new vegan milk chocolate bar options soon , though- whoo hoo!)
I like to use a bar (or wafers) because they give you those gorgeous pools of chocolate on top of the cookies.
The thing with chocolate chips are that they have binders that don’t allow them to melt in the same way. Sometimes I like to add some, but I still use the chocolate bar as well.
If you have a favorite vegan-friendly chocolate bar or chips, I’d encourage you to use it for this recipe.
Butter
This recipe calls for room temperature butter. You know your butter is room temp when you can easily make an indent with your finger (eww, I know) or a spoon into the butter.
It should be soft and pliable, but not runny or melty. If you forget to take the butter out of the fridge to come to room temp, you can use the microwave to make it happen quickly. But it can be a bit tricky and go melty on you fast…especially vegan butter. That’s because vegan butter has more water in it than the traditional stuff. So use this quick microwave method with caution-
Place butter on a microwave safe plate and do a short 10 second burst in the microwave.
Flip the butter over and do another 10 seconds (if needed) so it doesn't start to melt on one side.
Continue doing this until your butter is pliable.
If your butter goes soft and runny, just pop it back into the refrigerator for about 5 minutes.
All in all, it’s best to leave it out to soften naturally…
As for the type of butter, if you can’t find unsalted vegan butter (the baking preference), try reducing the amount of salt in the recipe by ¼ to ½. It’s hard to say exactly because the amount of salt will vary from butter to butter, but experiment with your fave and see what works best for you.
Salt
This recipe may have a bit more salt than you would typically find in a cookie recipe, but that is for two reasons-
Like vanilla, I believe you need a fair amount of salt to complement the flavor of chocolate. That’s why you often see flakey salt on top of chocolate cookies and brownies. The flavors just work well together.
I use Diamond Crystal Kosher salt, which as mentioned above has less sodium than your typical kosher (like Morton), sea, or table salt. If you are not using Diamond Crystal, you may want to consider reducing the amount by half… especially if using salted butter.
Sugar
To make sure it’s vegan, use organic as it does not use bone char (yes, it’s as bad as it sounds) in the processing like conventional sugar typically does. * Domino sugar seems to be vegan-friendly now, but don’t quote me on that! *
I like to use dark brown sugar in this recipe. I think it adds more flavor and I like how it gives the cookies a darker, richer look. But if you only have or prefer light brown sugar, that works just as well too. And, light brown sugar is great because it really gives a classic chocolate chip cookie flavor.
Oil
(Along with water )serves as our egg replacer. Also, oil helps with moisture retention in the cookie after it is baked.
Measuring
Listen… just go ahead and get a scale! They’re cheap and the most accurate for baking. I use them to develop my recipes and do the best I can to convert to the cup measurements ( out of courtesy to those who don’t have one). But trust me, if you like to bake- get one. It will be the best $20 dollars you spend to improve your recipes.
If you still refuse, make sure that you use the scoop and level method to measure out your flour to avoid using more than the recipe calls for.
T= tablespoon tsp= teaspoon C= cup g= gram ml= milliliter pinch= around ⅛ of a teaspoon
INGREDIENTS:
227 g (1 C) butter, vegan (room temp, unsalted)
150 g ( ¾ C ) brown sugar- dark or light * I prefer dark* (organic, vegan-friendly)
100 g (½ C ) superfine or granulated sugar (organic, vegan-friendly)
15 ml (1 T ) oil (neutral, I like grapeseed)
30 ml (2 T) water, room temp
1 T vanilla extract (pure) or vanilla powder
263 g ( 2 C + 3 T) all-purpose flour
½ tsp. baking soda
¼ tsp. baking powder
1 tsp. kosher or pink Himalayan salt
8-10 oz chocolate bar, chips, or wafers ( vegan-friendly) I typically like to chop a bar into large chunks and mix with chocolate chips
RECIPE PREP
Bring butter to room temp
Line cookie sheet with parchment paper or silicon mat
Chop chocolate bar (if using)


LOOK FOR THE *💡*FOR TIPS IN THE DIRECTIONS 👇🏾 TO HELP ENSURE YOUR RECIPE COMES OUT PERFECT, EVERY TIME!
DIRECTIONS:
To a large bowl or the bowl of your stand mixer- add room temp butter along with both granulated and brown sugars. You can add vanilla here too if using a powder like me.
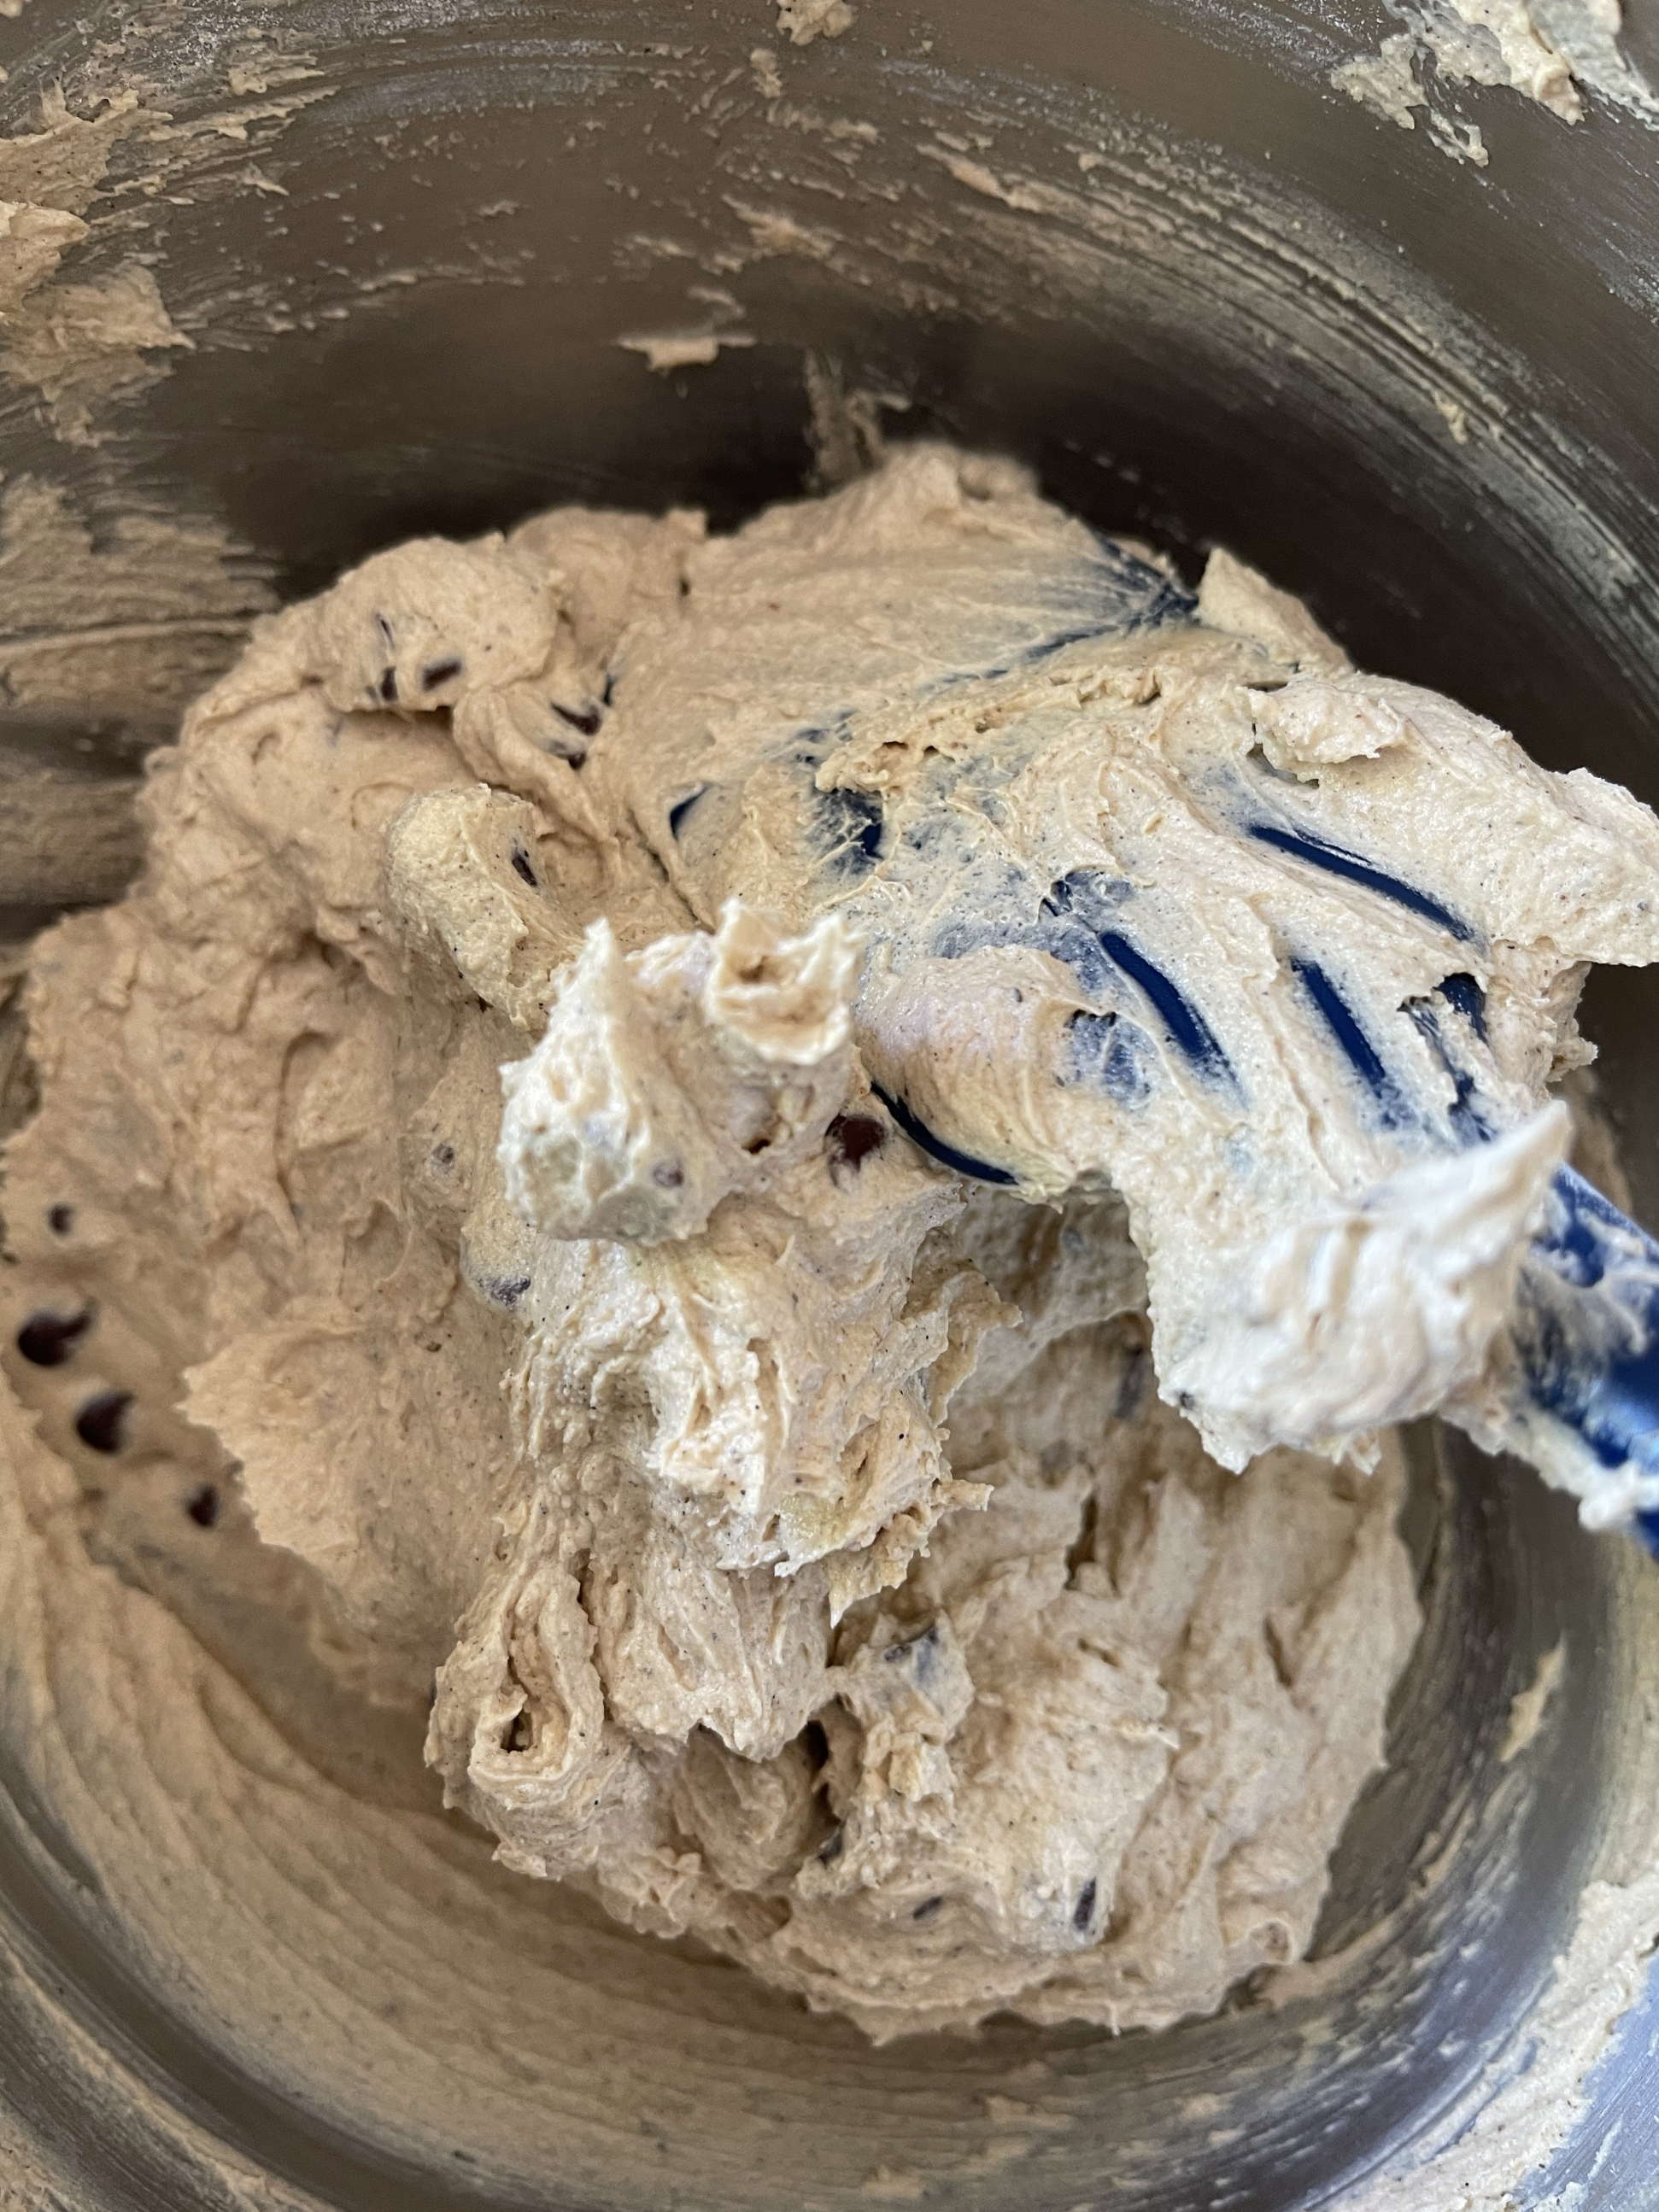
Mix on a medium speed 3-4 minutes or until the mixture has become light and “fluffy”.
In a separate small bowl, whisk together the oil and water. This emulsifies the mixture.
Add in the vanilla, along with the oil and water mixture to the bowl. Mix again on a medium-low speed for about 30 seconds. Just long enough to incorporate the ingredients into the sugar mixture.
I like to sift in the flour, baking soda, and powder. This is not a must, but I do feel that it helps with the texture of the cookies. If you don’t have a sieve, then go ahead and skip the sifting and just add the dry ingredients to the bowl.
Add in the salt to the mixture and mix again on a medium speed for another 30-60 seconds or until the dry ingredients have incorporated.
With your spatula, scrape down the sides and bottom of the bowl to catch any dry spots or ingredients that haven’t fully incorporated into the dough.
Add in the chocolate and mix again on a low speed or use a spatula (my preference) to gently fold in the chocolate (insert Schitt’s Creek joke here…) Don’t over mix!
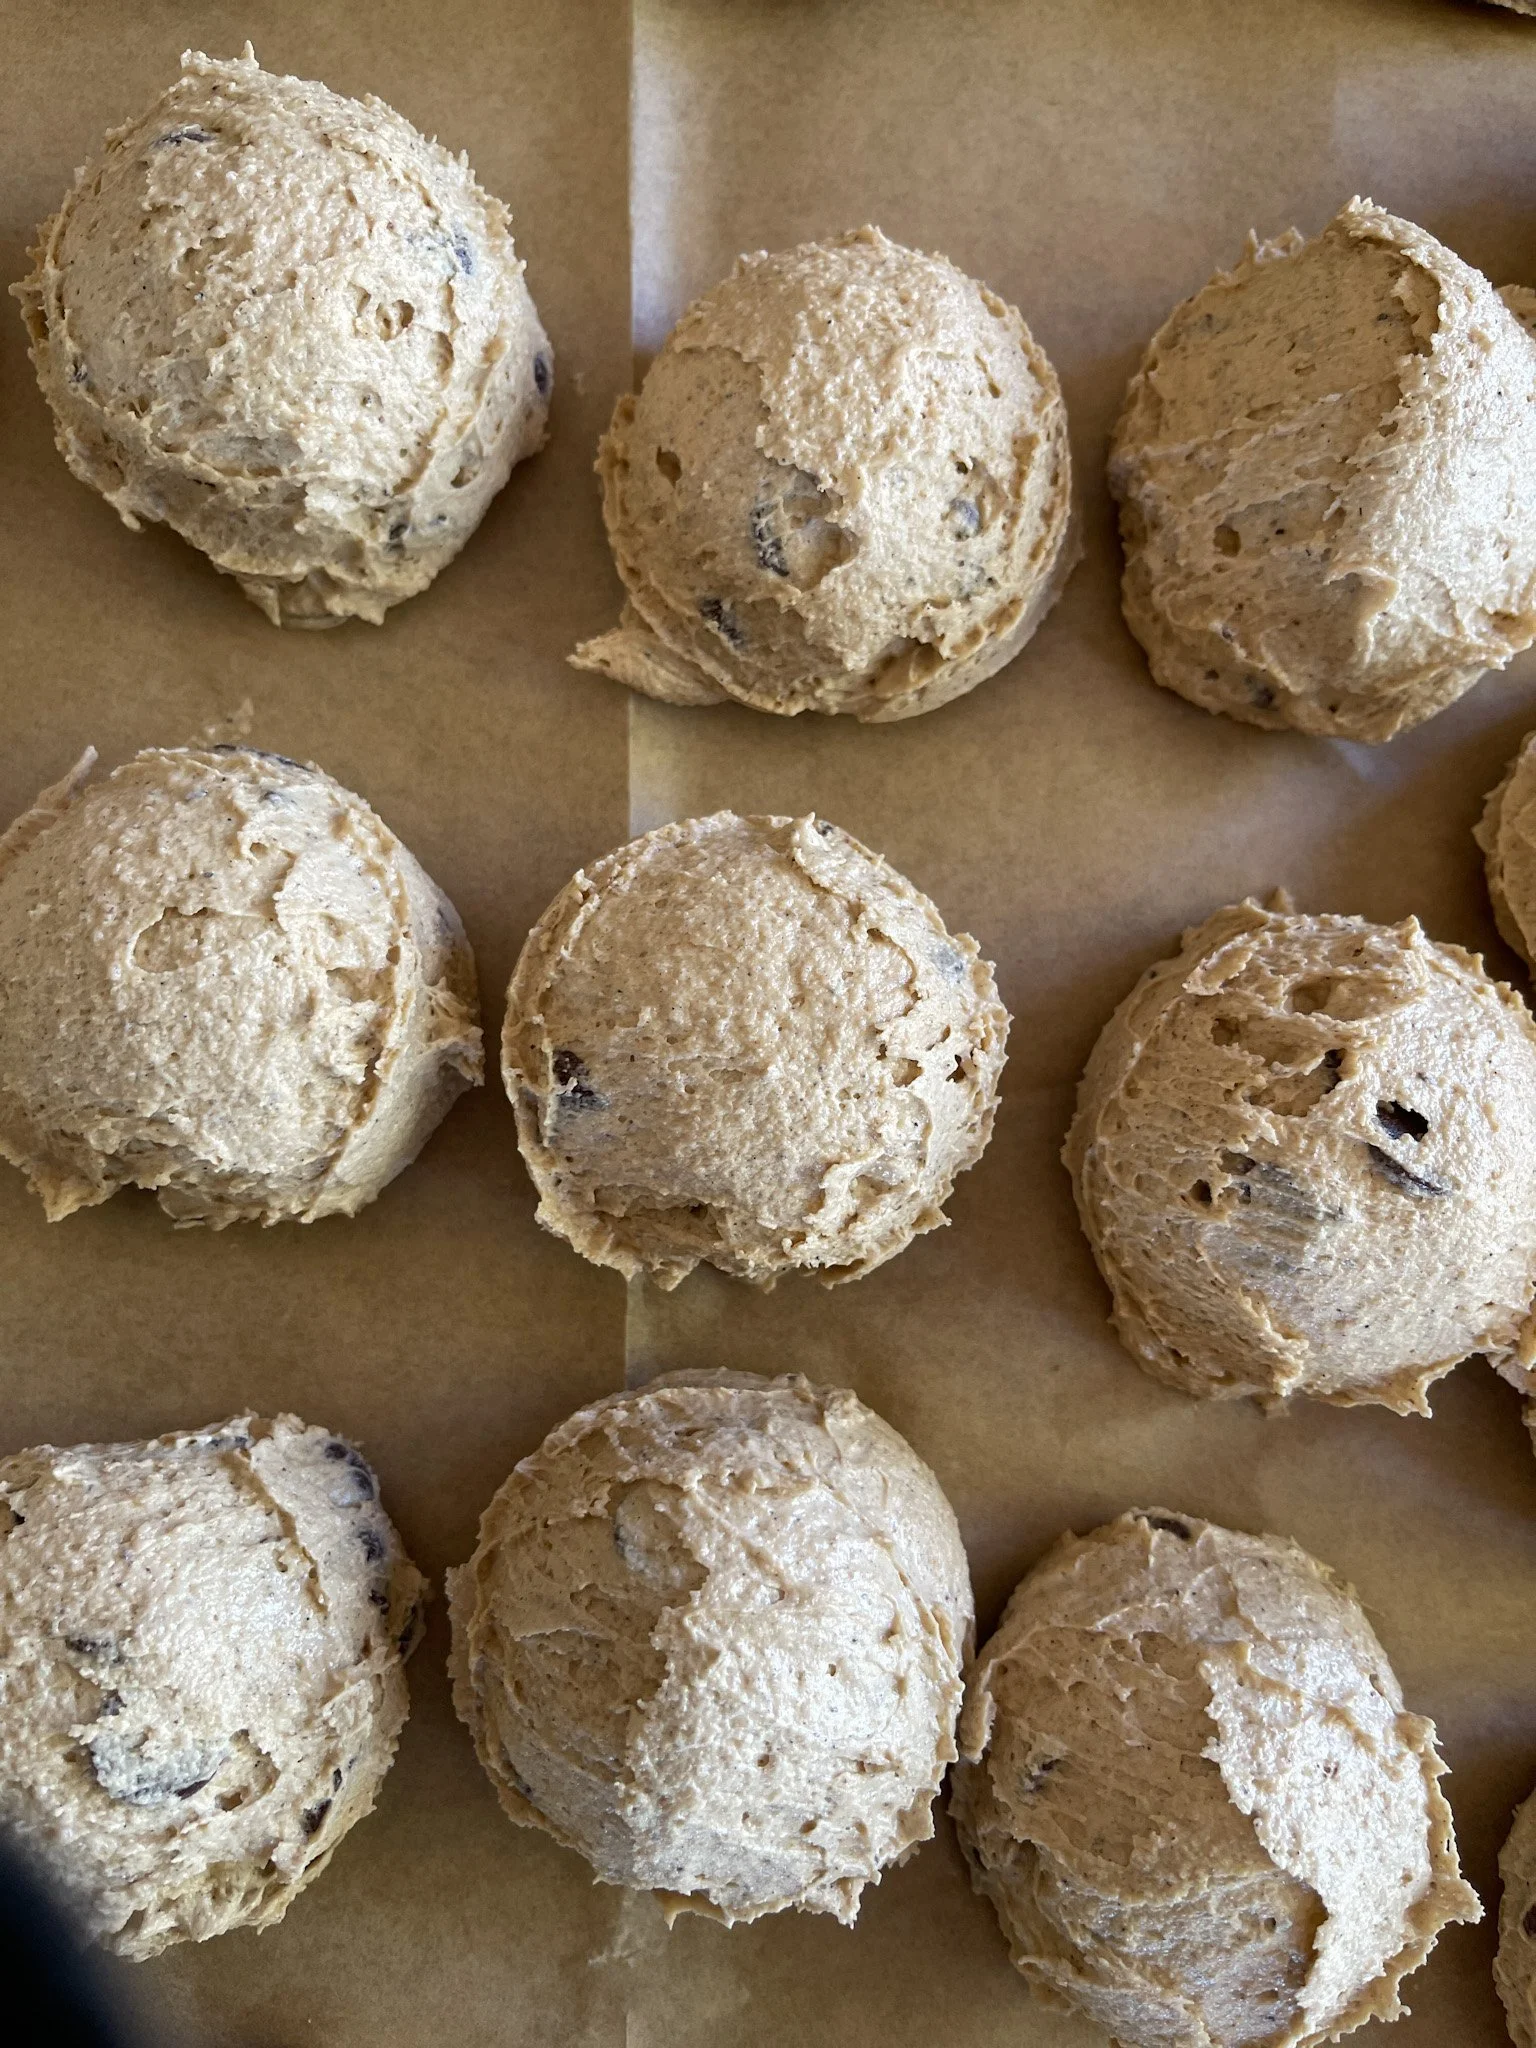
With your ice cream scoop or measuring cup, scoop and drop dough onto a lined baking sheet. At this point, don’t worry about leaving space between the dough balls. We’re just setting them to chill over night.
Cover the dough and place in the fridge. 24 hours is best, but overnight works really well too. At the very least, let them set for 4 hours, then pop into the freezer for 5 minutes before baking.
Preheat oven to 375° F/ 190 ° C when ready to bake.
Get a new baking sheet or remove some of the dough balls to allow for spreading.
Place the baking sheet on the middle rack. Bake for 13-16 minutes (depending on your oven and the size of the cookies ).
The cookies are done when they have spread, but the edges are firm, look crispy, and golden. 💡The middle of the cookie should be slightly set, but still soft, if you want a cookie that is crispy on the outside, but softer in the middle. Bake slightly longer for a crispier, chewier cookie. However, take care not to over bake. 💡With cookie dough, it’s good practice to test one out to see how long to bake to get to your preferred “end-game” cookie. Just keep in mind that cookies firm up after they cool.
When ready, remove the cookies from the oven.
💡 To make your cookies look like they came from the bakery, use a round dough or cookie cutter to shape your cookies when they are fresh out the oven. Make sure to find one big enough to fit around the circumference-a large glass can work too! Move the cutter around the cookie in a circular motion to form a perfect (ish) circle.
Allow the cookies to cool for 5 minutes on the baking sheet. Then place them on a cooling rack to cool further- another 5 minutes or so (if you like a warm, gooey cookie).
Enjoy!
Tell me, what’s your favorite kind of cookie? Soft? Chewie? Thin and crispy? I want to know! So please share in the comments below!